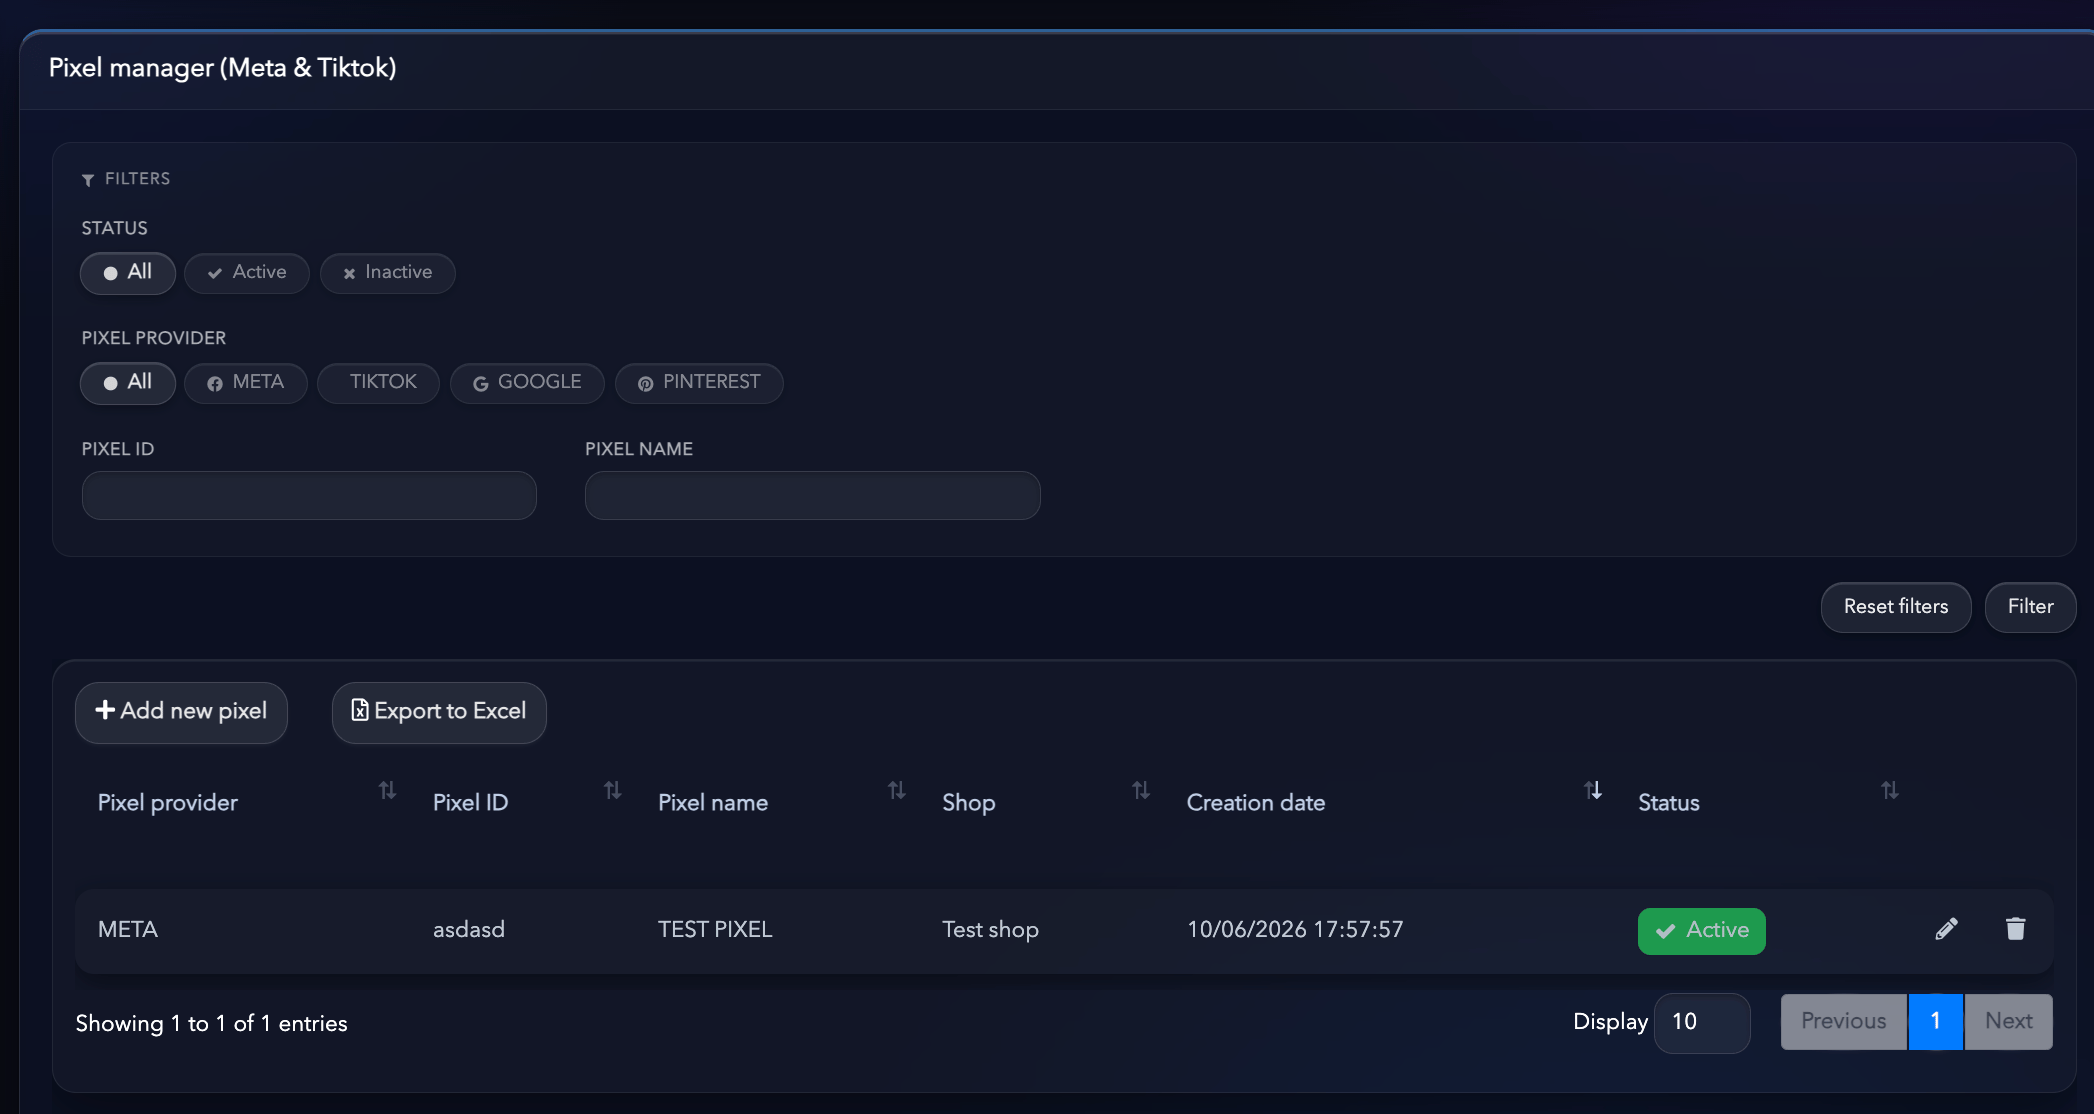
- Set up the pixel in your store using Parkour Pixel.
- Add that same pixel to Hurry to enable sending events through the Meta Conversions API (CAPI).
Step 1. Install Parkour Pixel
First, install the Parkour Pixel app on the Shopify store that customers coming from Meta Ads will land on. Once installed, set up the pixel following Parkour’s official documentation. ➡ Parkour Pixel setup guideImportant: Before continuing with this guide, make sure the pixel is created and working correctly in Parkour.
Step 2. Create the pixel in Hurry
Once the pixel is set up in Parkour, go to Pixels → Meta in Hurry and click New pixel.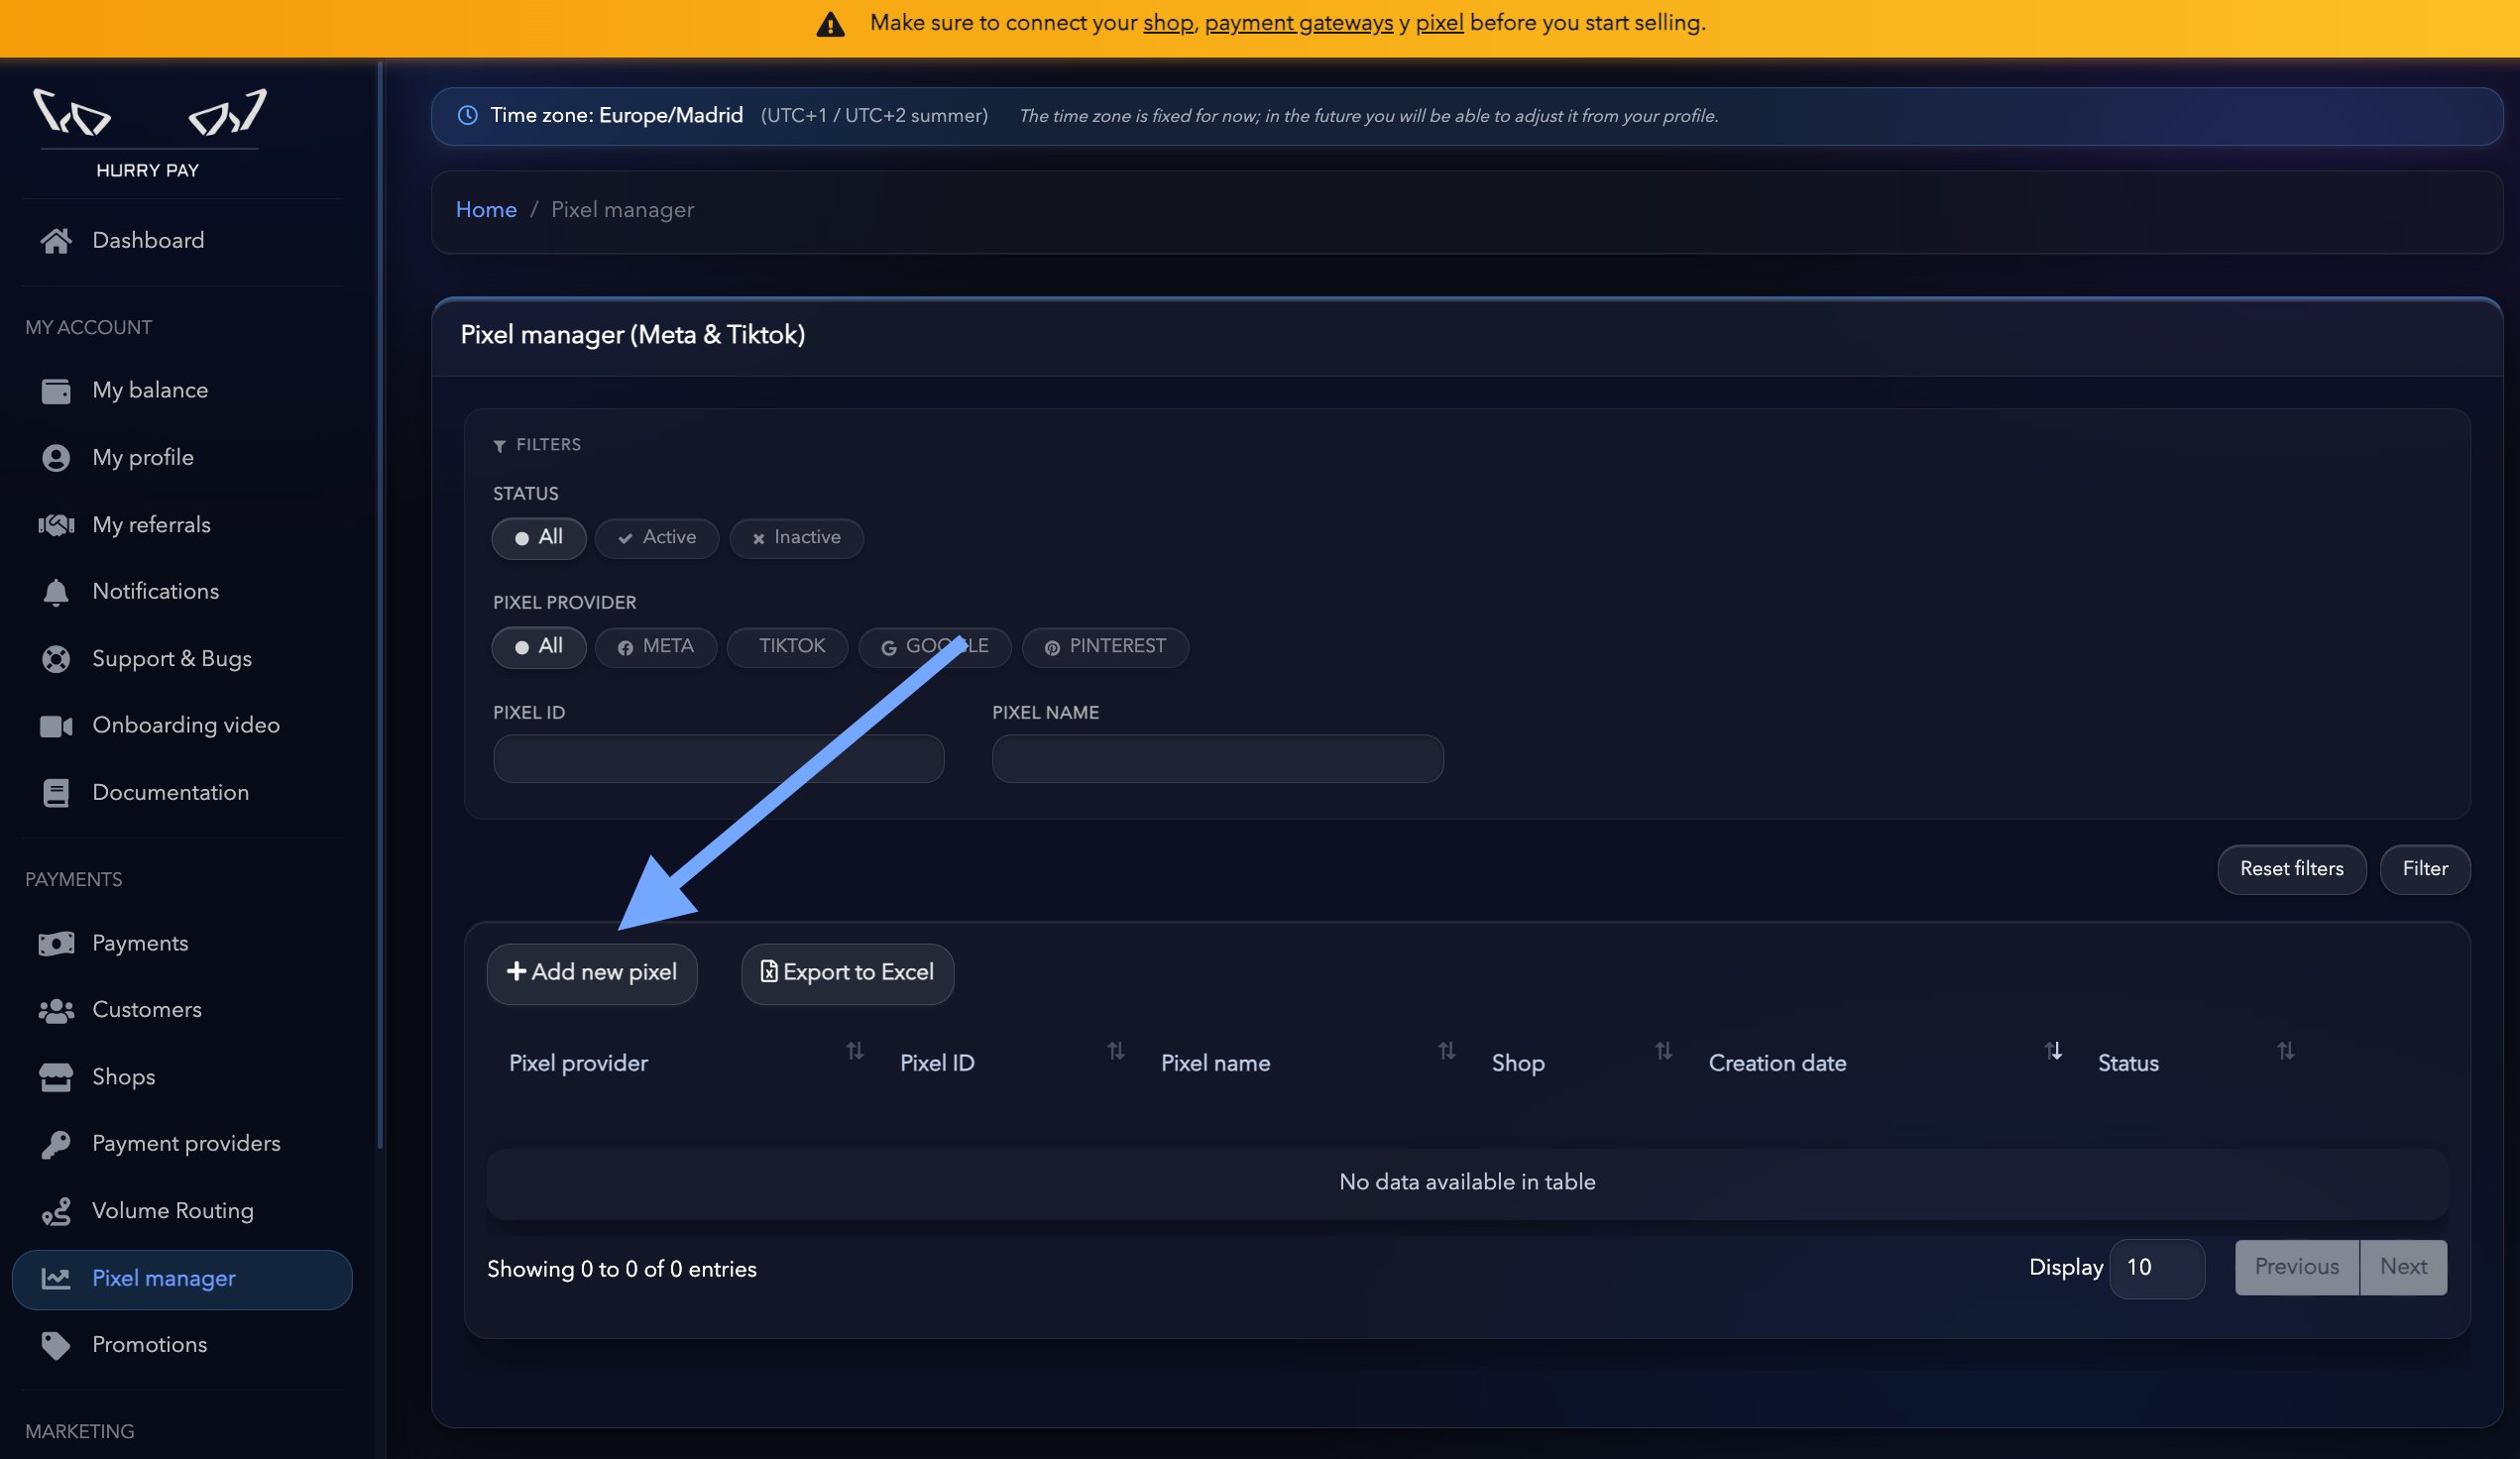
Step 3. Complete the setup
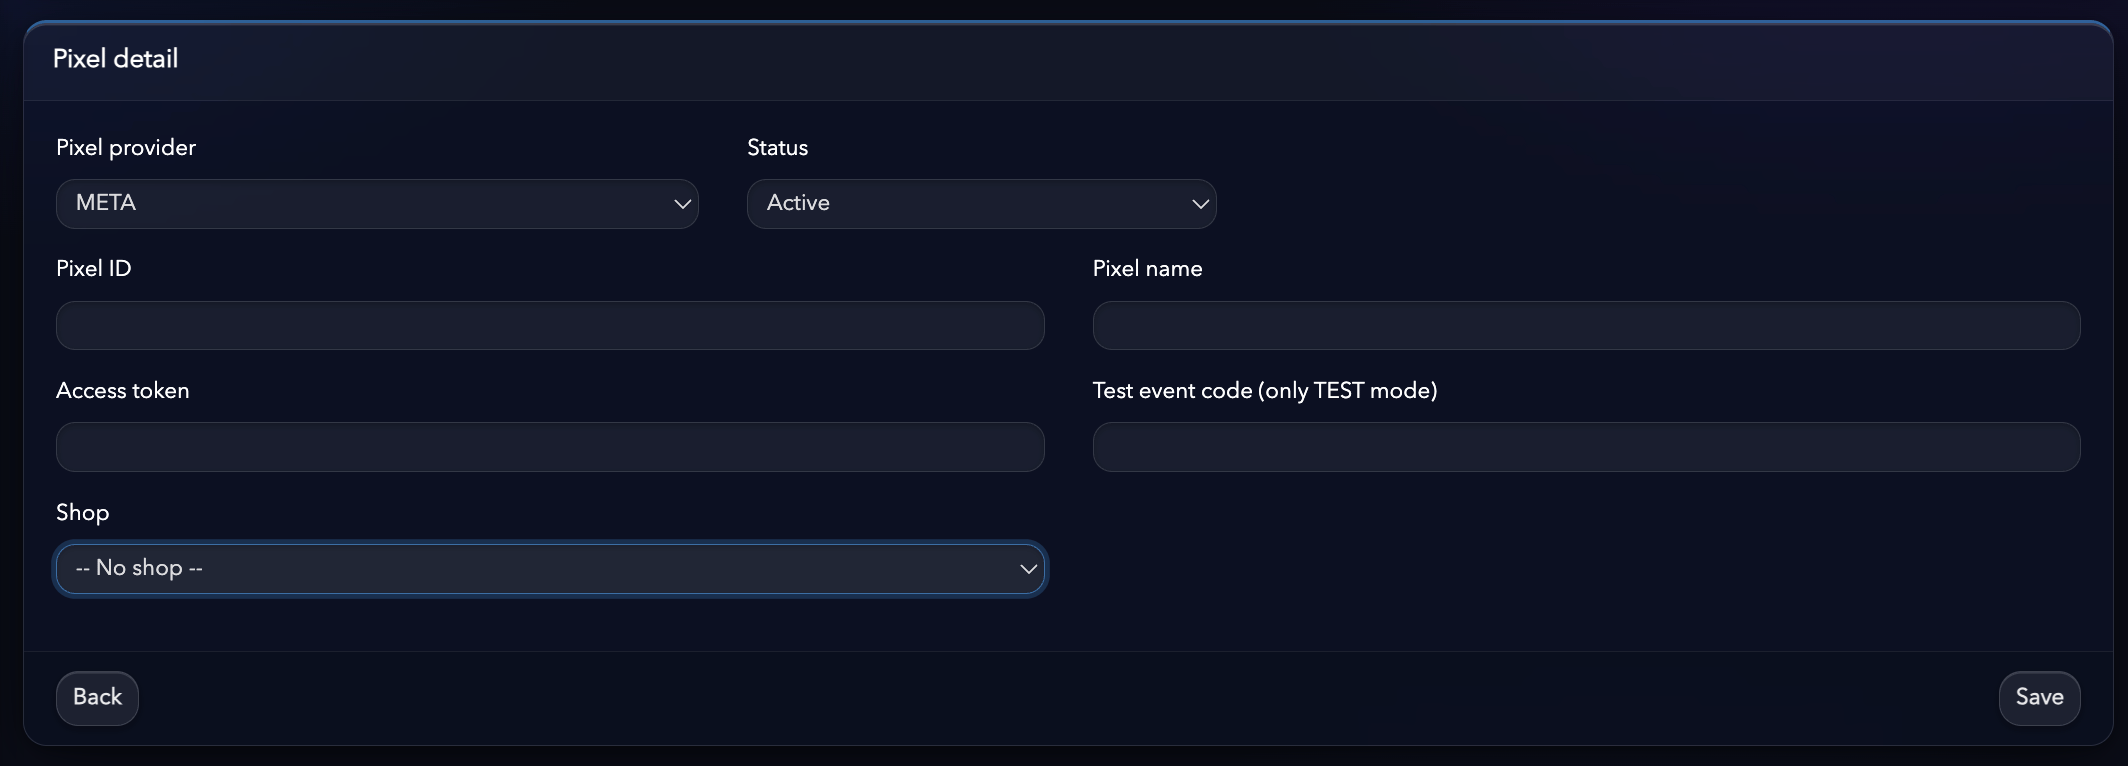
Enter the following information:Name
A name to identify the pixel within Hurry. This name is internal only. Example:- Meta Spain
- Main Pixel
- Meta Store 1
Pixel ID
Enter the Pixel ID of the pixel created in Meta.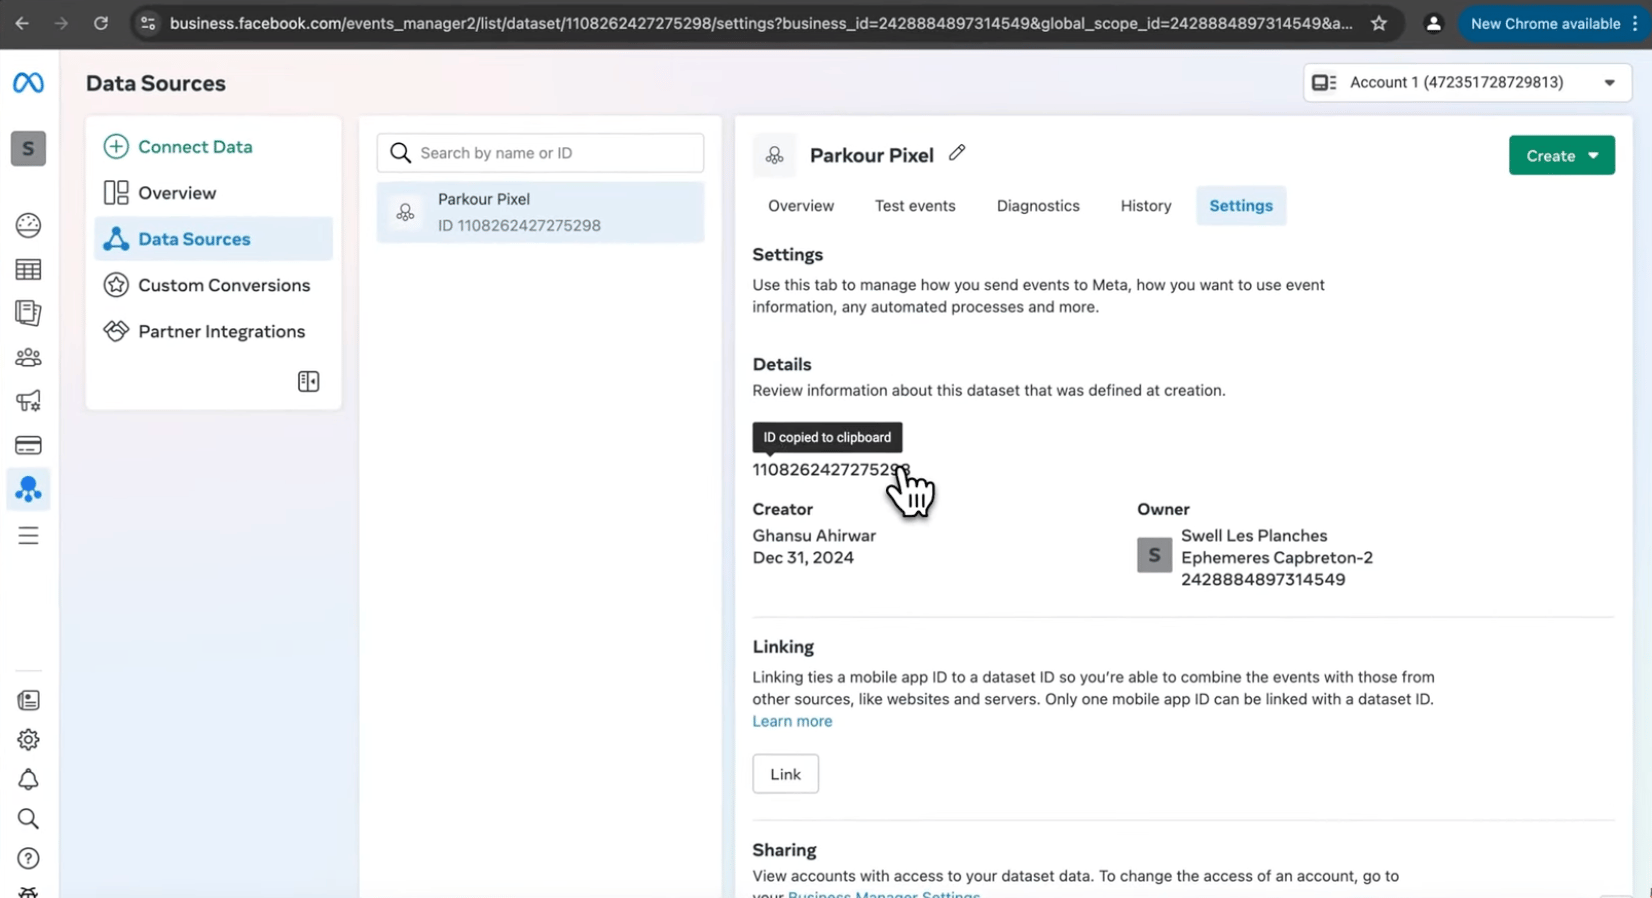
Pixel Access Token
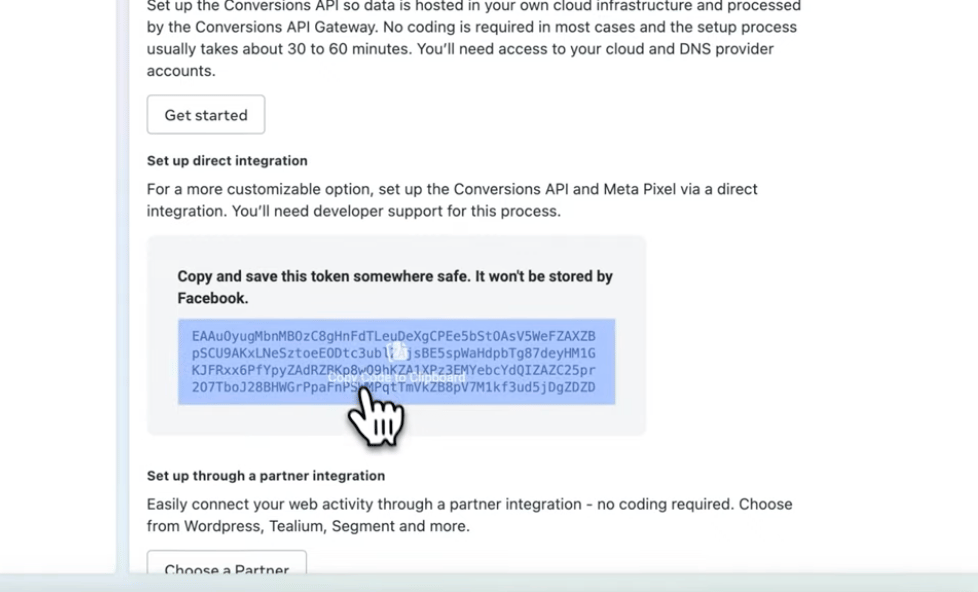
Enter the pixel’s Access Token. This token lets Hurry send events directly through the Meta Conversions API (CAPI). You can get it from Meta Events Manager.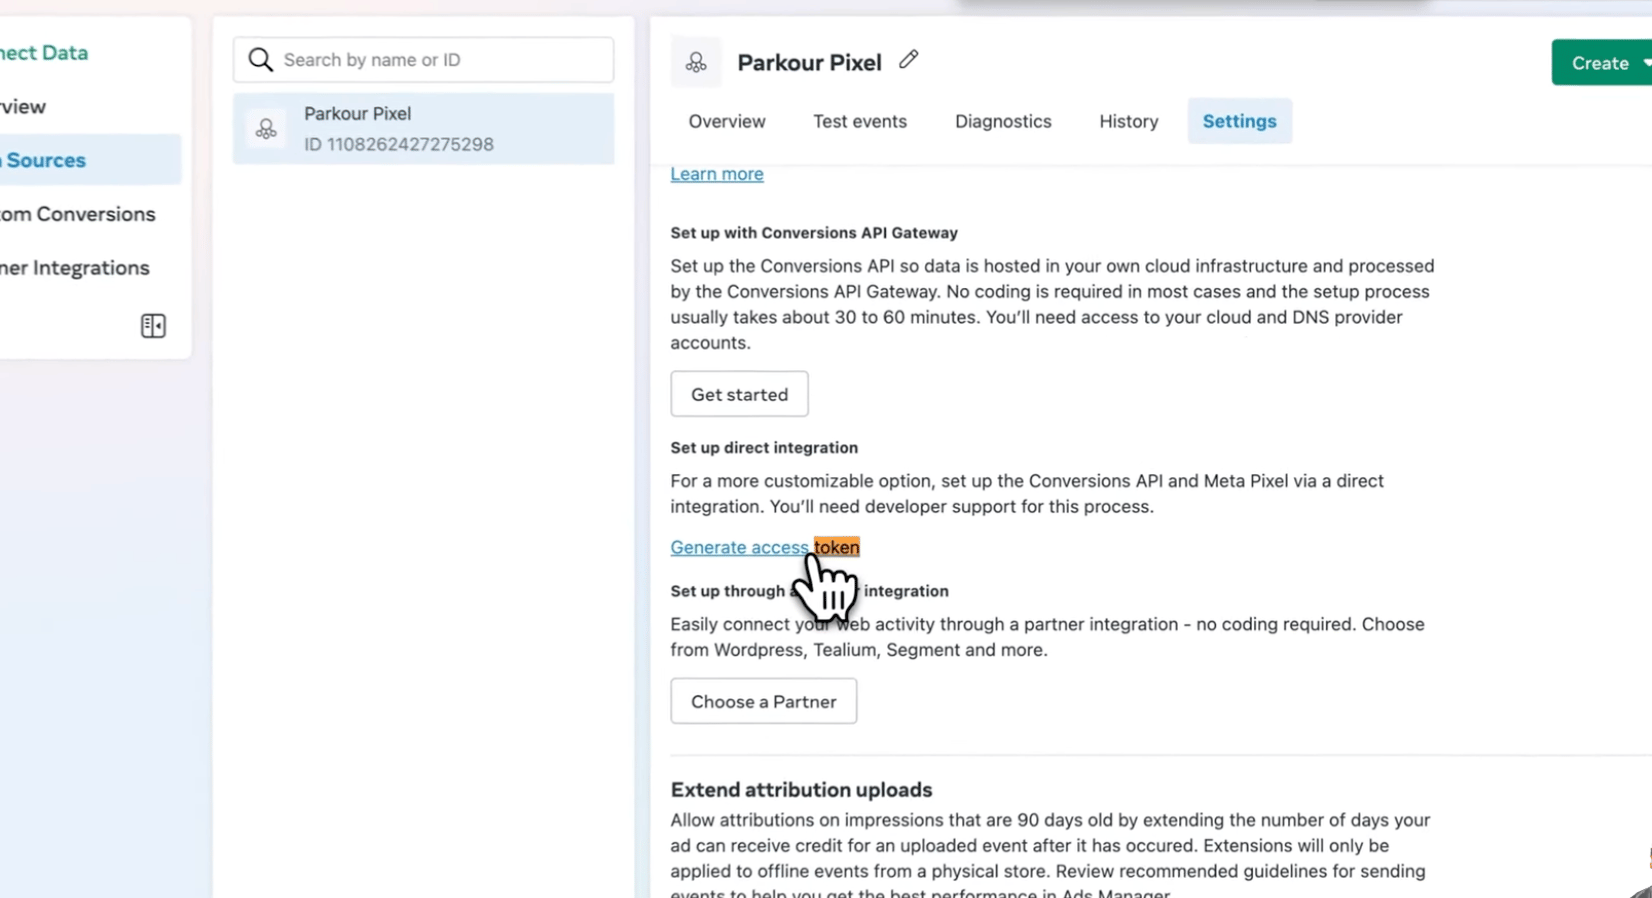
Store
Select the Hurry store you want to associate this pixel with. All events sent from that store will automatically use this configuration.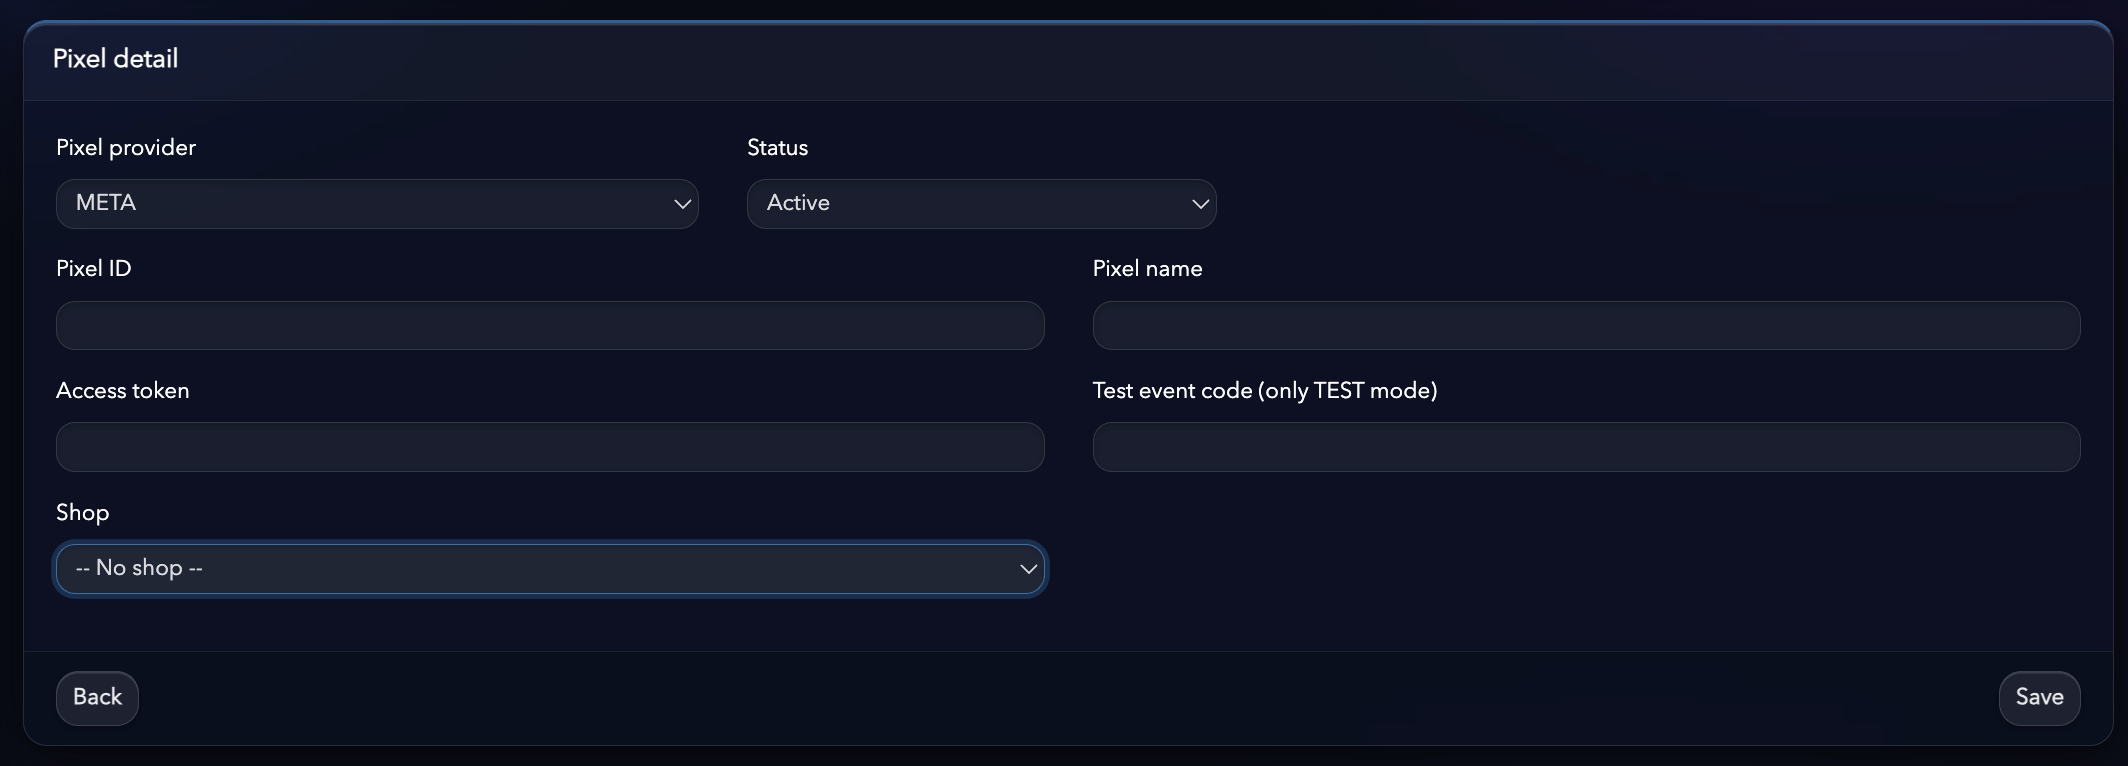
Step 4. Save
Click Save to finish the setup. From then on, Hurry will start sending conversion events to Meta using the Conversions API.