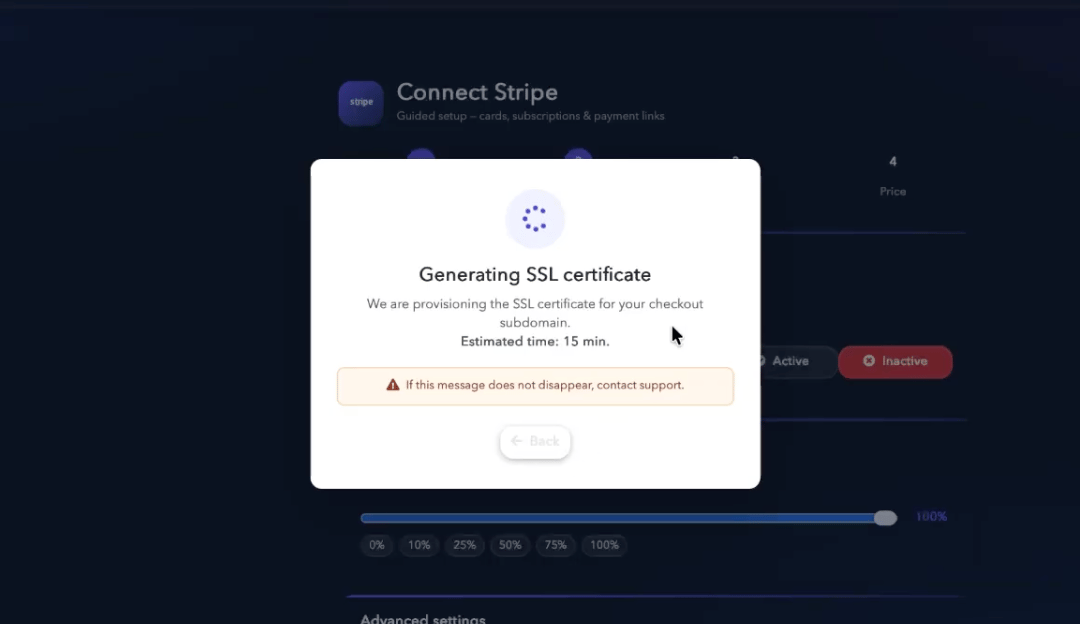
Step 1. Set up the checkout domain
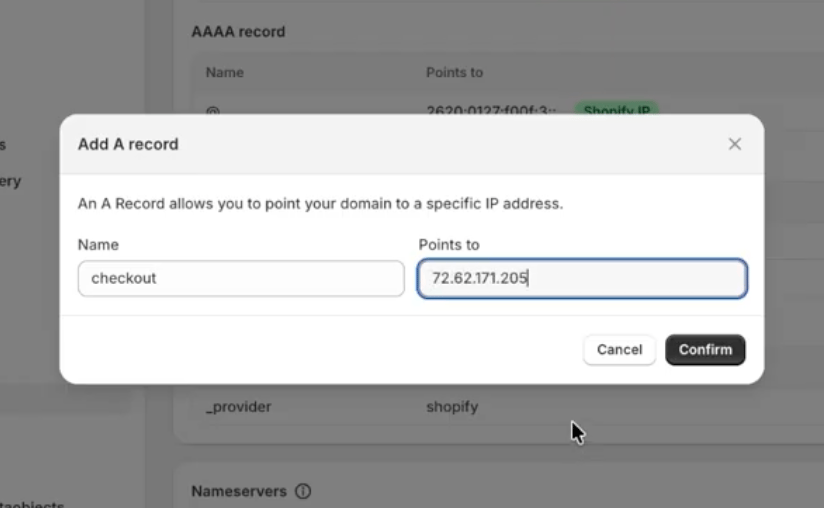
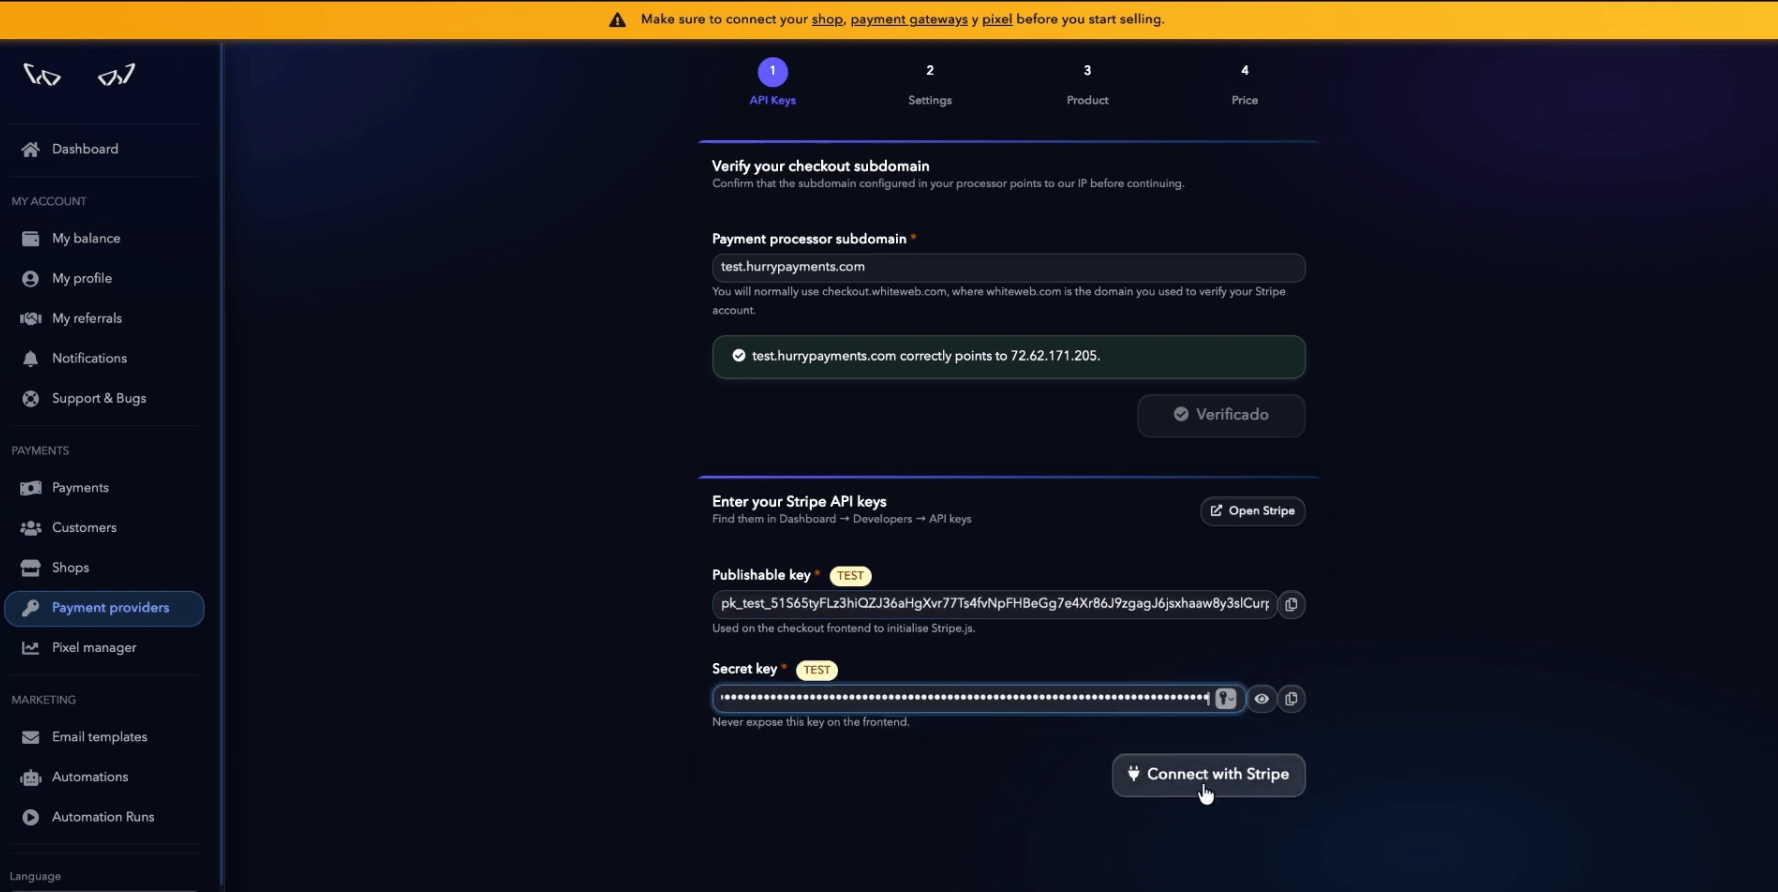
Each payment gateway uses a dedicated subdomain to display the checkout. A typical setup uses a subdomain such as:Create the DNS record
Go to your domain’s DNS panel and create an A record with the following settings: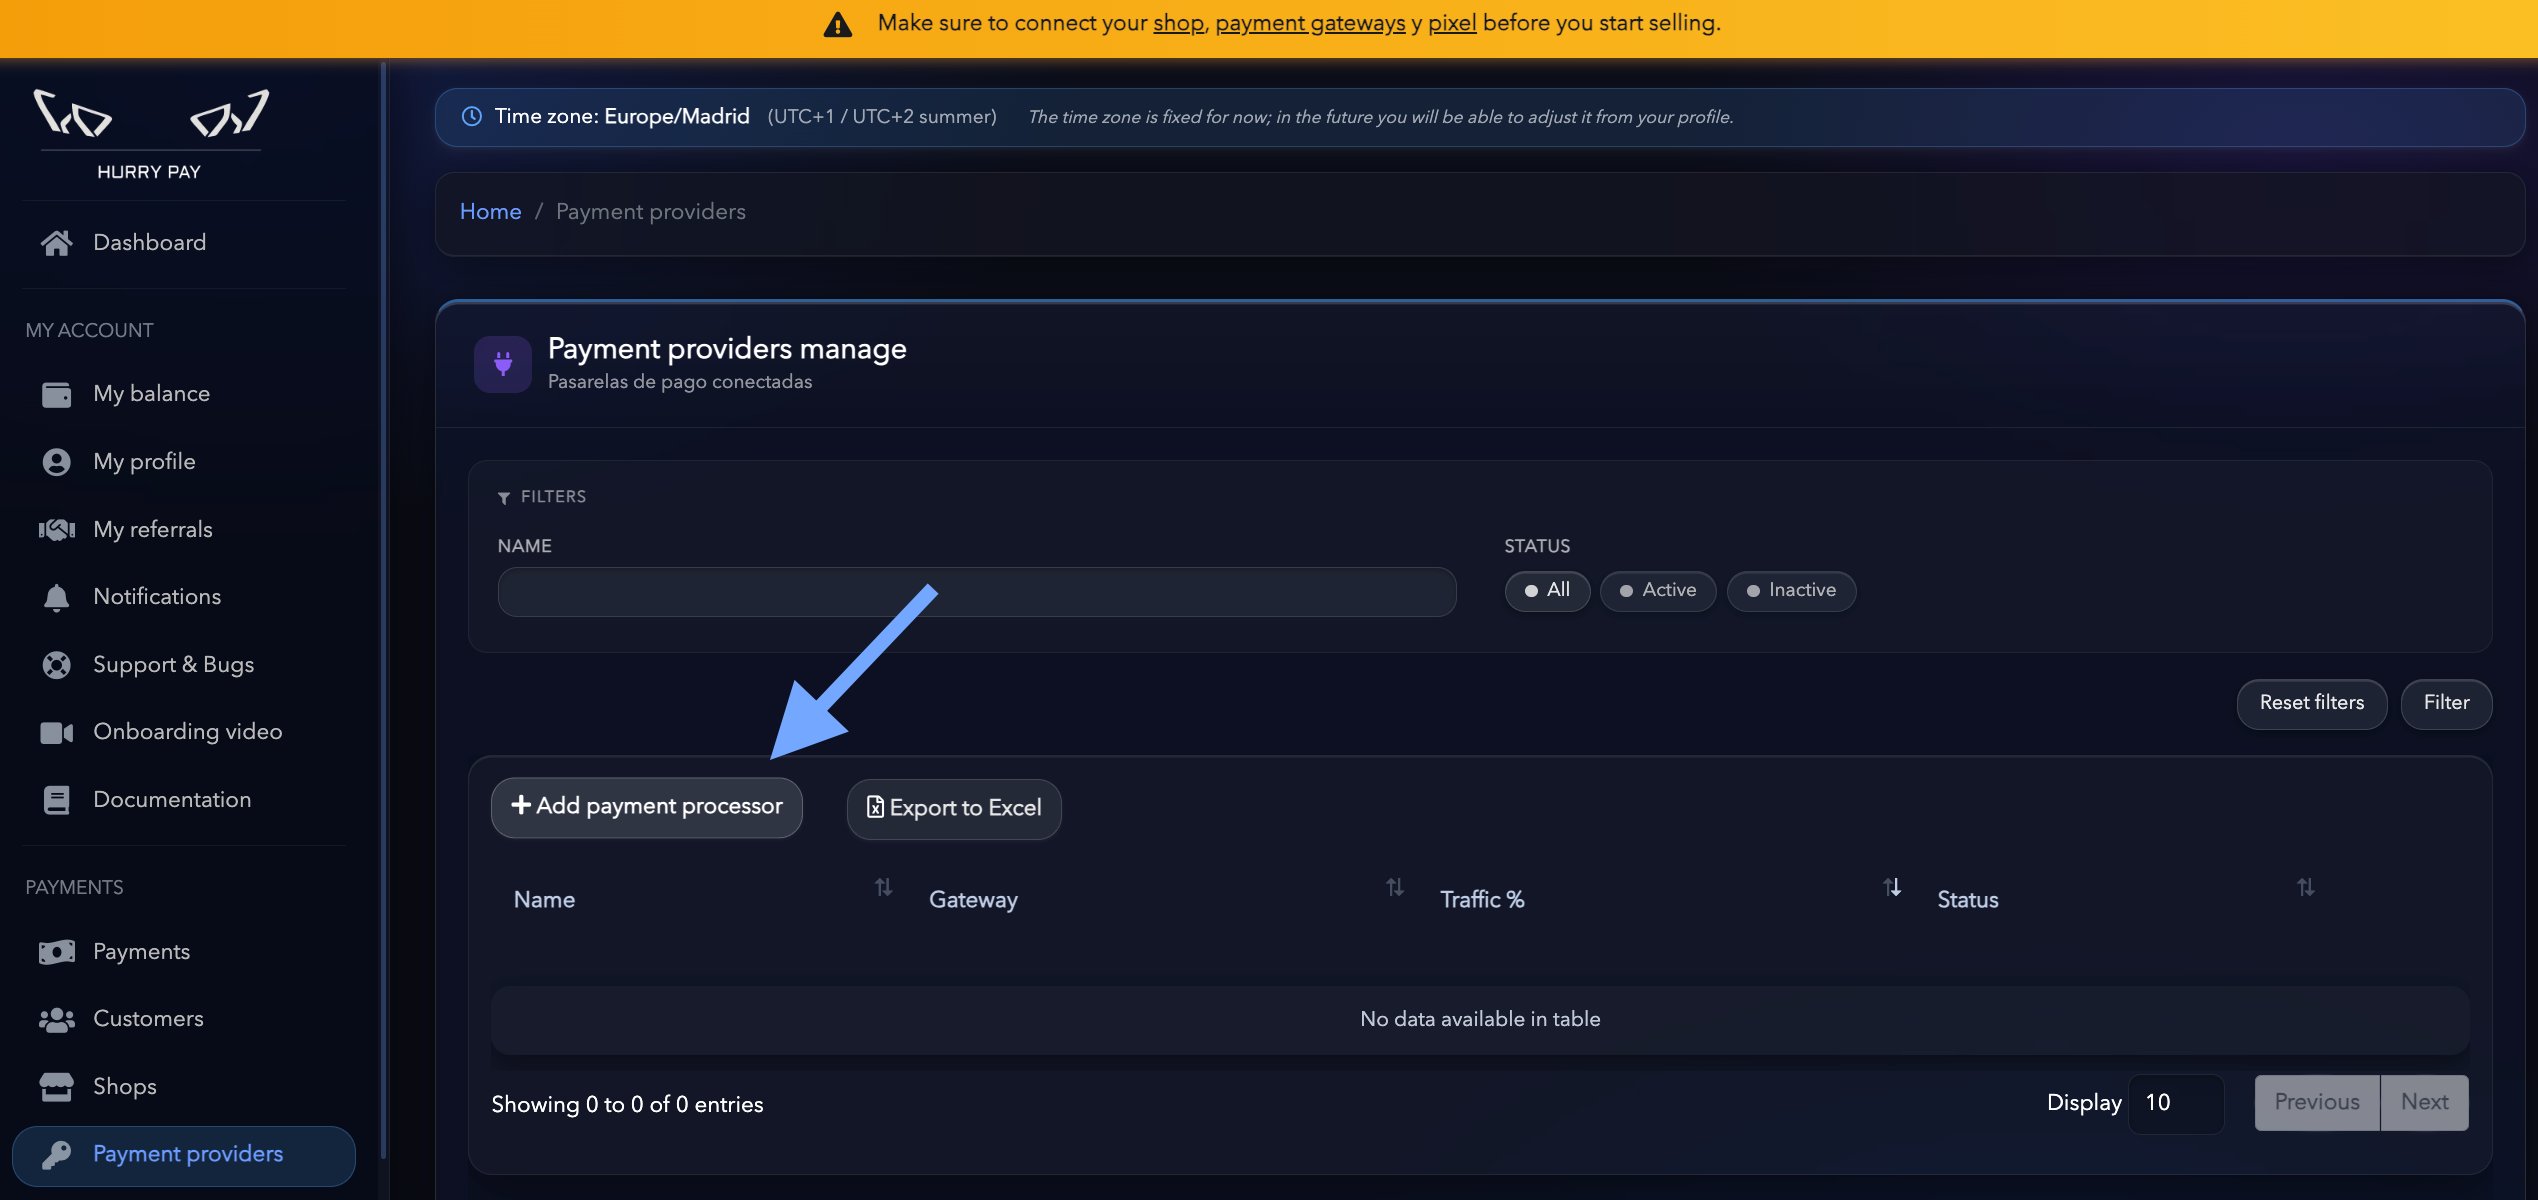
Note: DNS propagation can take anywhere from a few minutes to several hours depending on your domain provider.
Step 2. Enter the API keys
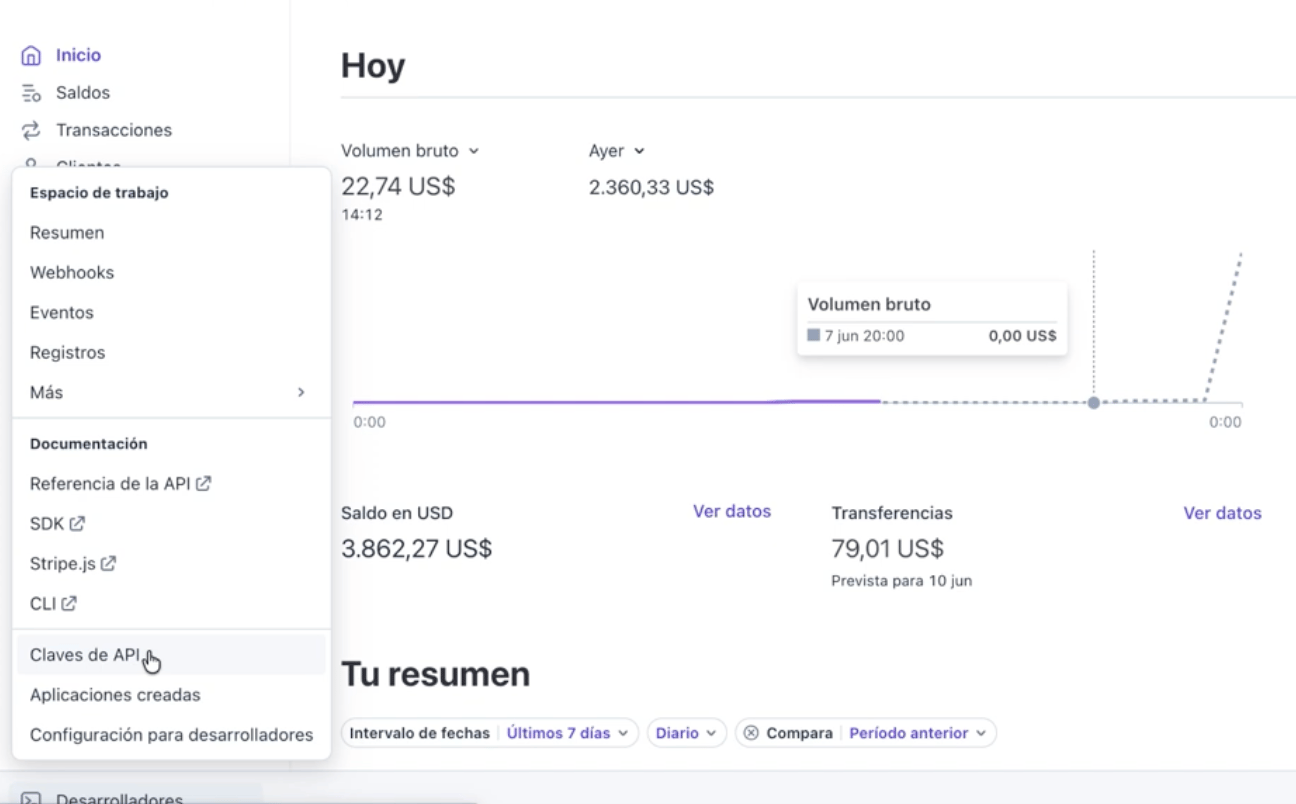
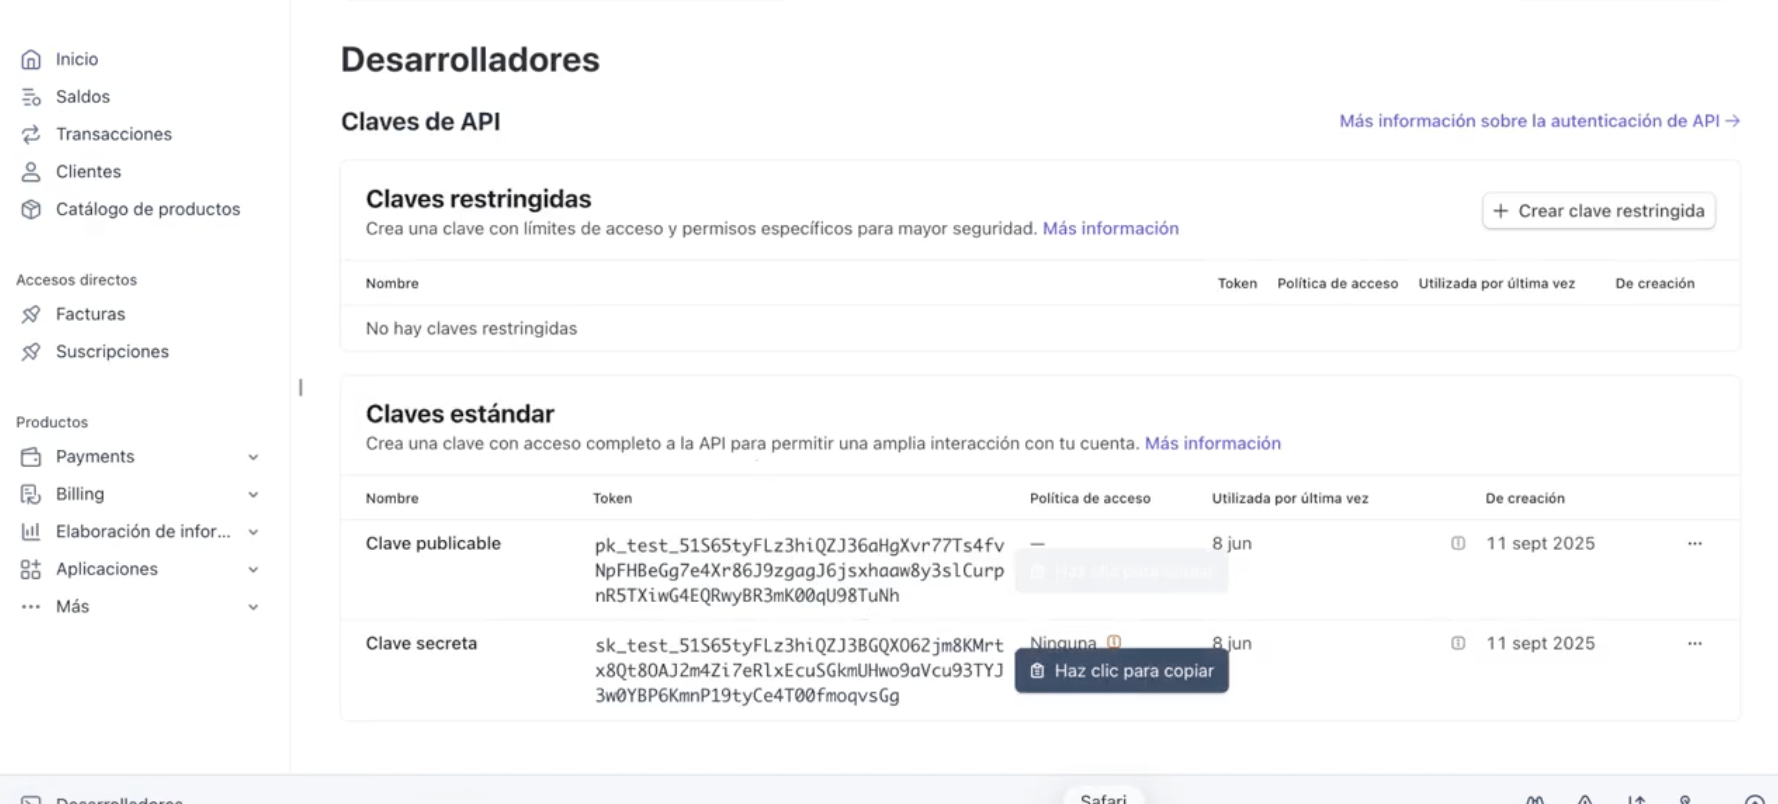
In the Stripe Dashboard, go to: Developers → API Keys Copy the following keys and paste them into Hurry:- Publishable Key
- Secret Key
Step 3. Gateway name
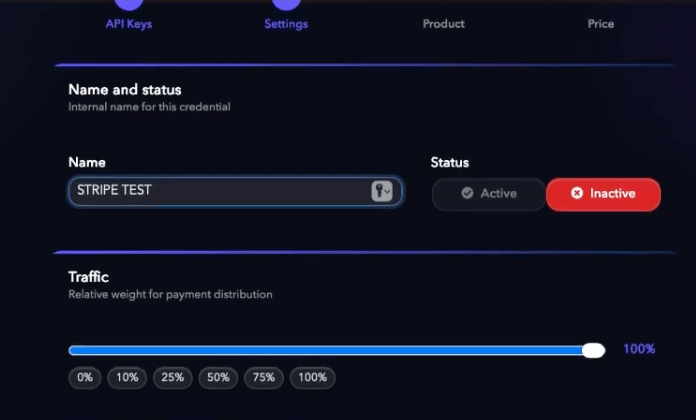
Give this connection a name to identify it. This name is internal only and is useful when one store uses several Stripe accounts. Examples:- Main Stripe
- Stripe Spain
- Stripe Europe
Step 4. Traffic percentage
Set the percentage of payments you want to send to this Stripe account. If you only have one gateway connected, you can leave the value at 100%. If you use several gateways, you can split traffic between them by whatever percentage you want.Step 5. Set up subscriptions and rebills (optional)
If you’re going to use subscriptions or recurring charges (rebills), you need to select a Stripe product. Hurry uses this product to manage recurring payments automatically. If you haven’t created one yet, see the guide: ➡ Create a Stripe product for subscriptions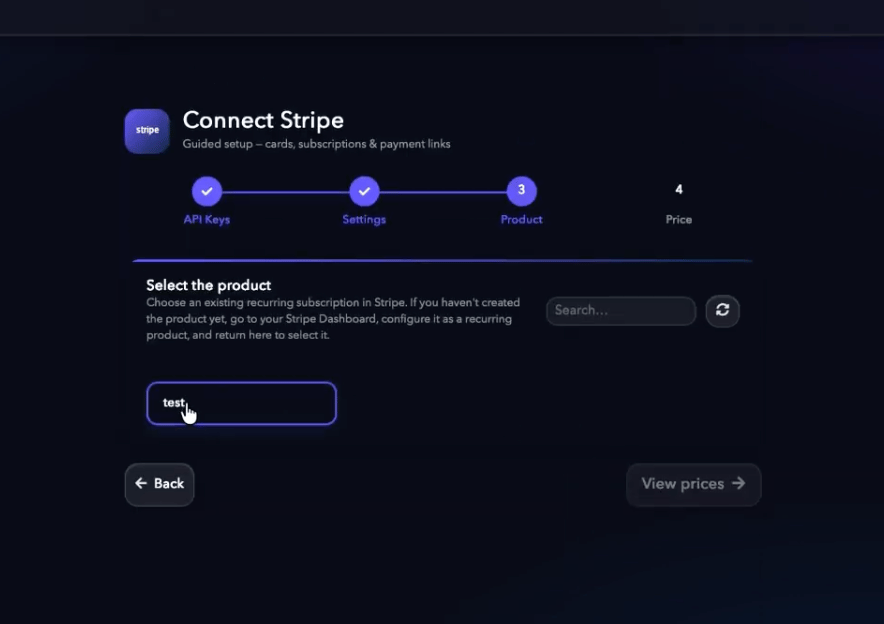
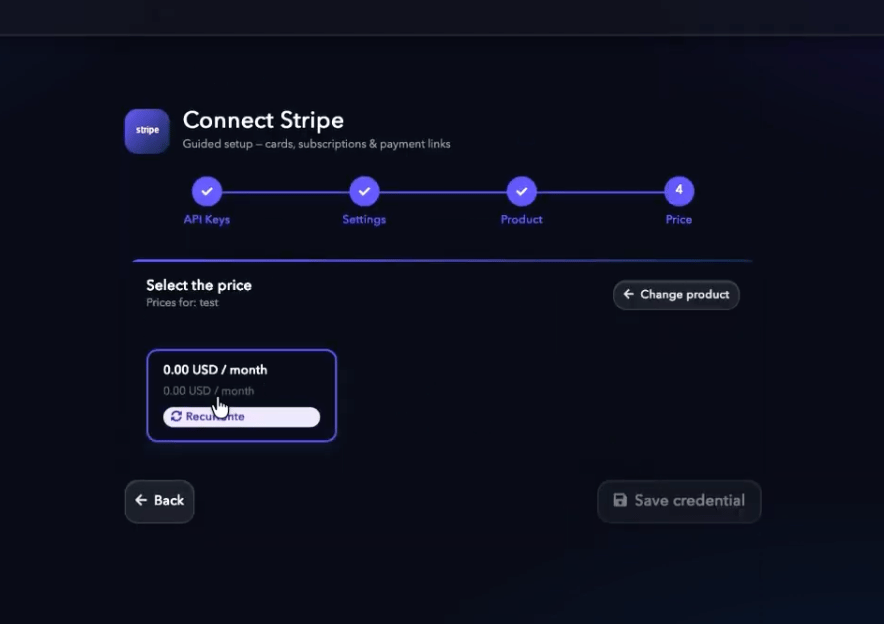
Step 6. Save
Once all fields are filled in, click Save. Hurry automatically checks the connection with Stripe and sets up the required webhooks internally, so you don’t need to configure anything else in Stripe.