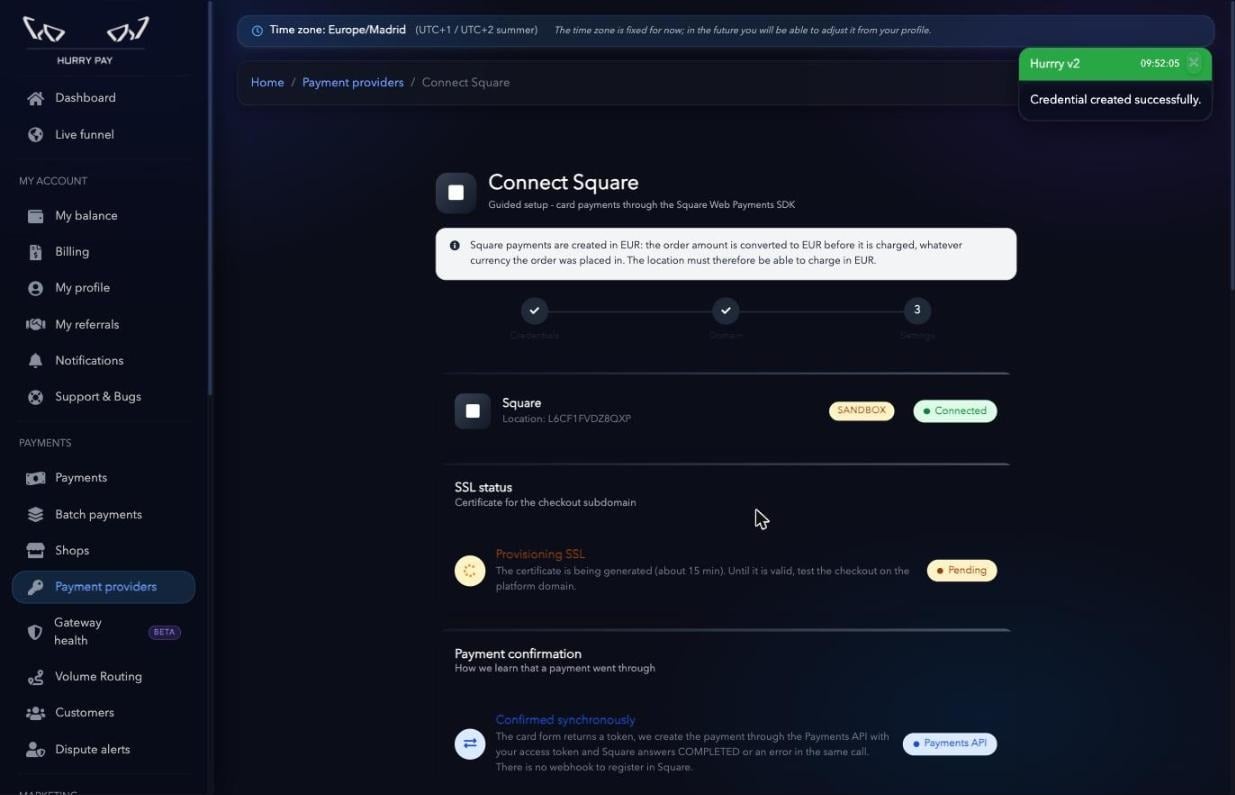
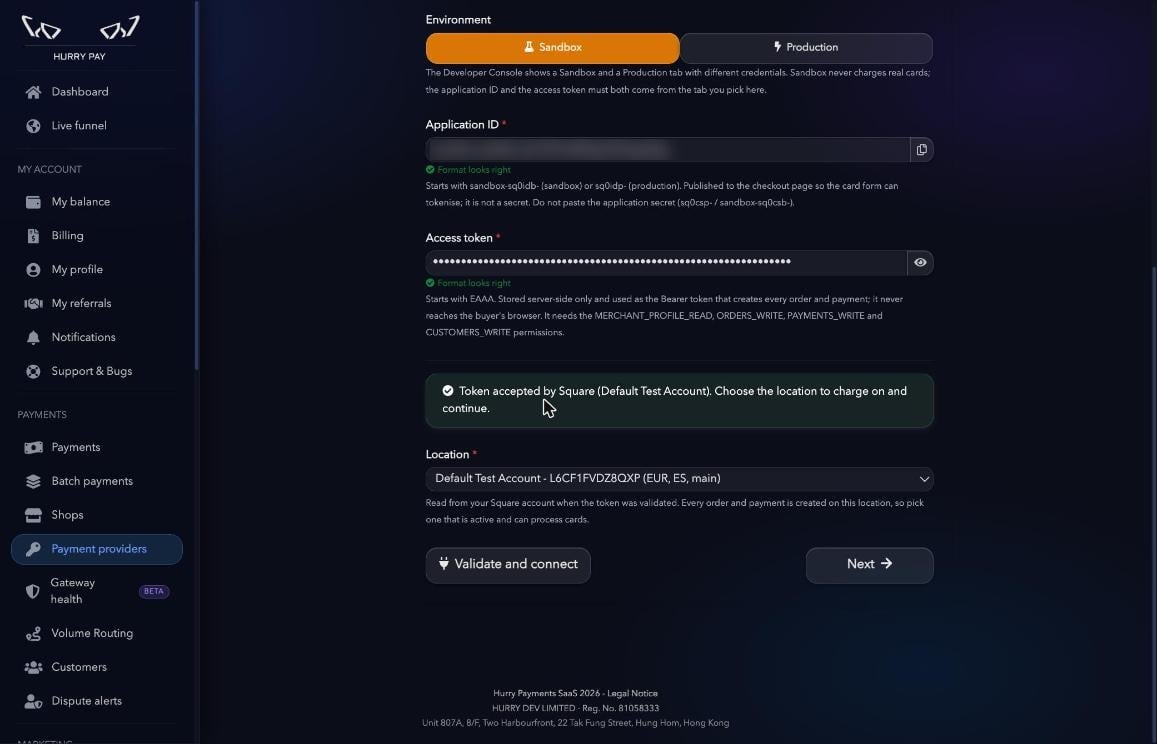
Note: Square payments are always created in EUR. If the order is in another currency, the amount is converted to EUR before it’s charged, so the location you choose must be able to accept payments in EUR.
Before you start
You need two things:- An application in the Square Developer Console (Applications → your application → Credentials). There you’ll see a Sandbox tab and a Production tab, each with its own credentials.
- A subdomain pointing to Hurry’s IP, from which the checkout will be served.
Create the DNS record
Go to your domain’s DNS panel and create an A record with the following settings:Note: DNS propagation can take anywhere from a few minutes to several hours depending on your domain provider.
Step 1. Add the gateway
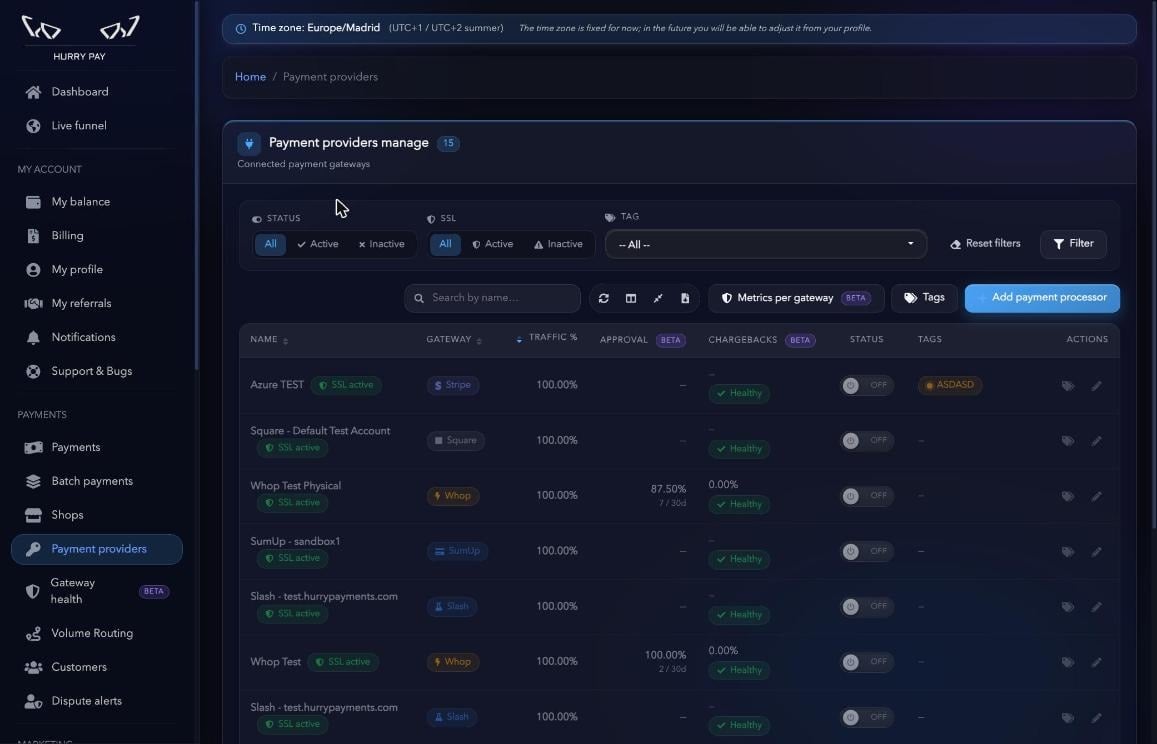
In the side menu, go to Payment providers and click Add payment processor.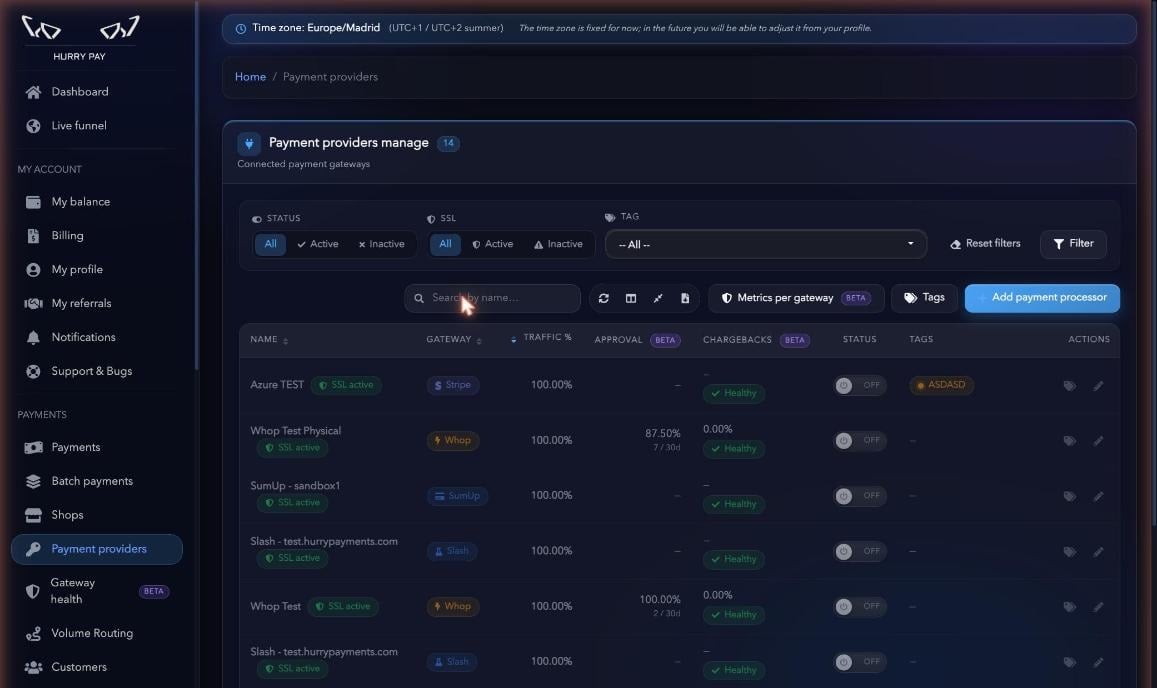
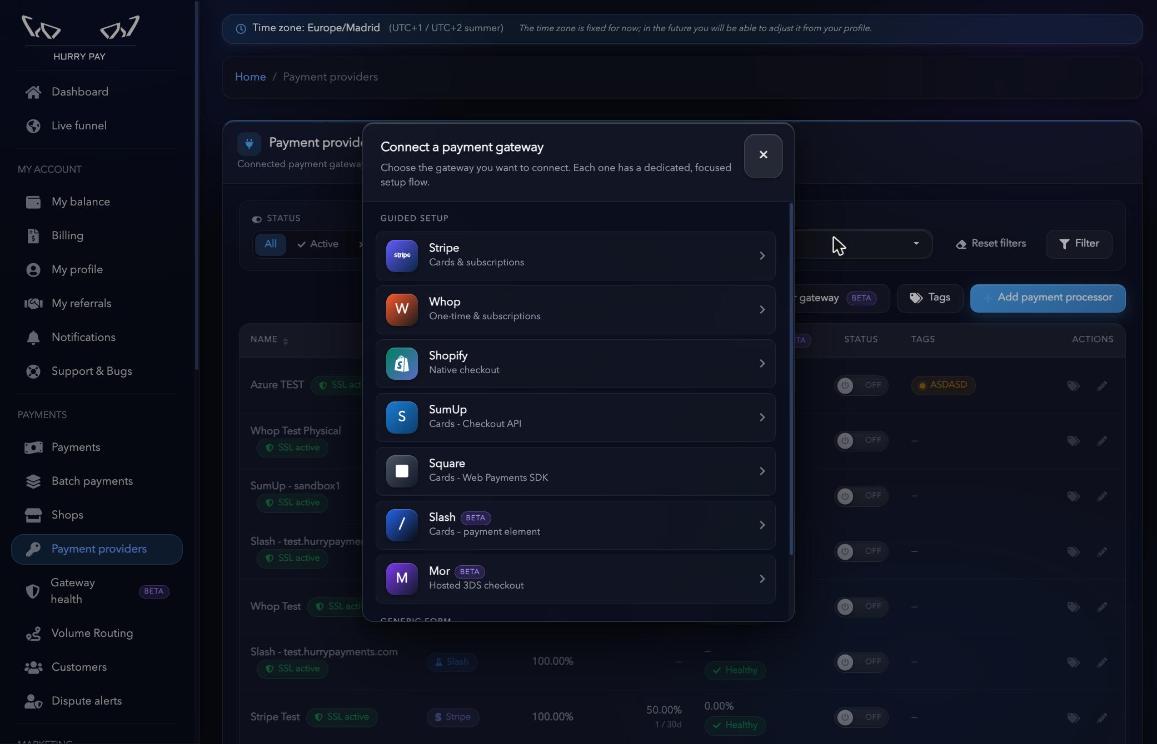
Step 2. Enter the credentials
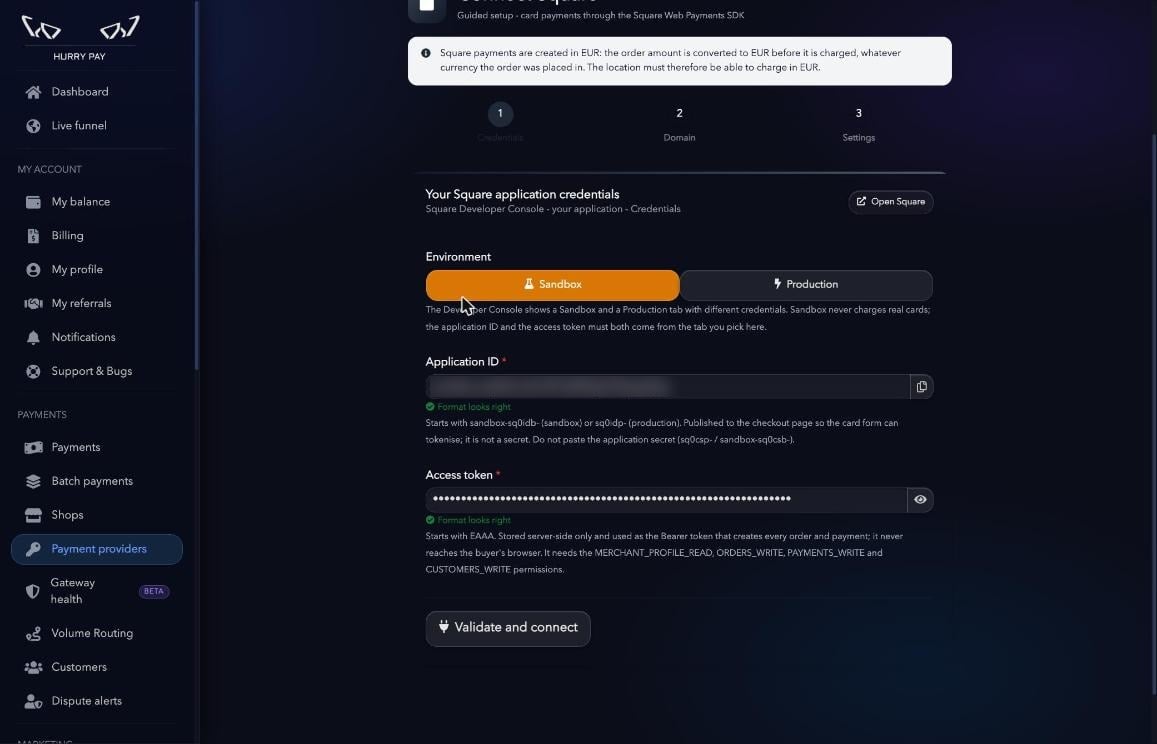
First choose the Environment: Sandbox for testing (never charges real cards) or Production to charge for real. Both credentials must come from the same Developer Console tab you chose here. You can open the console with the Open Square button.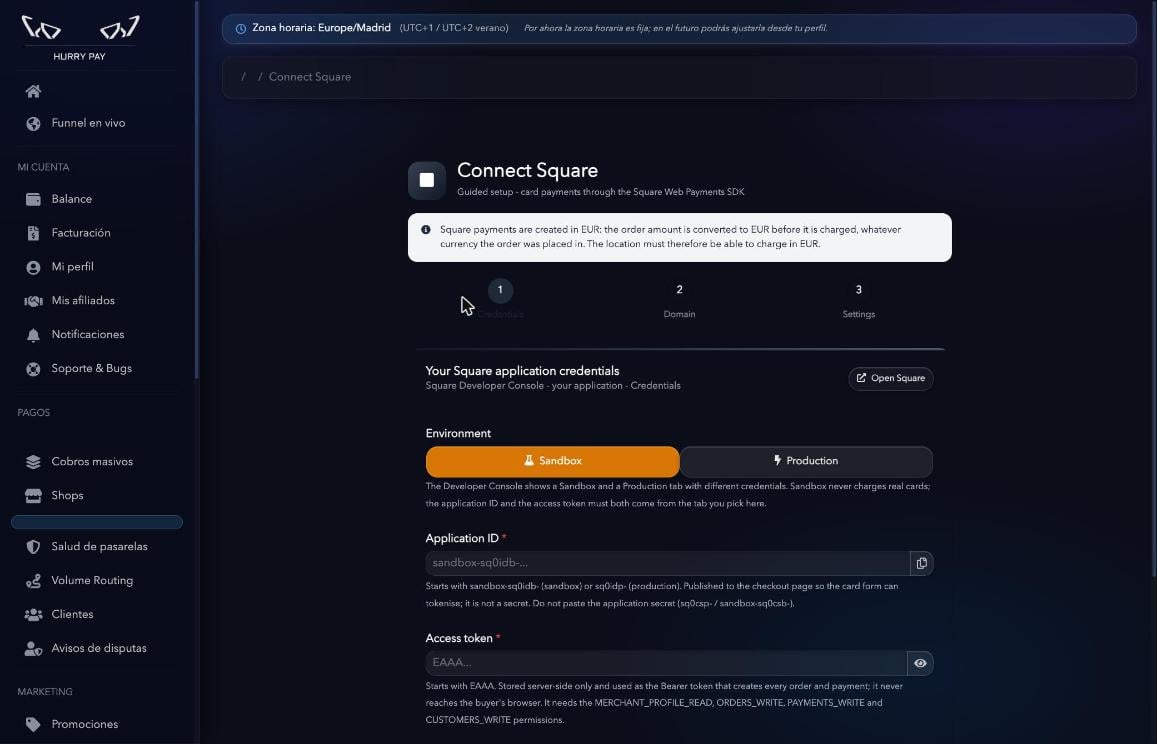
When each field’s format is correct, the Format looks right message appears.
Step 3. Verify the checkout domain
In White-label subdomain, enter the subdomain you created earlier (for examplecheckout.yourdomain.com) and click Verify DNS.
If the A record is correct, the correctly points to 72.62.171.205 message appears and the button changes to Verified. Click Next.
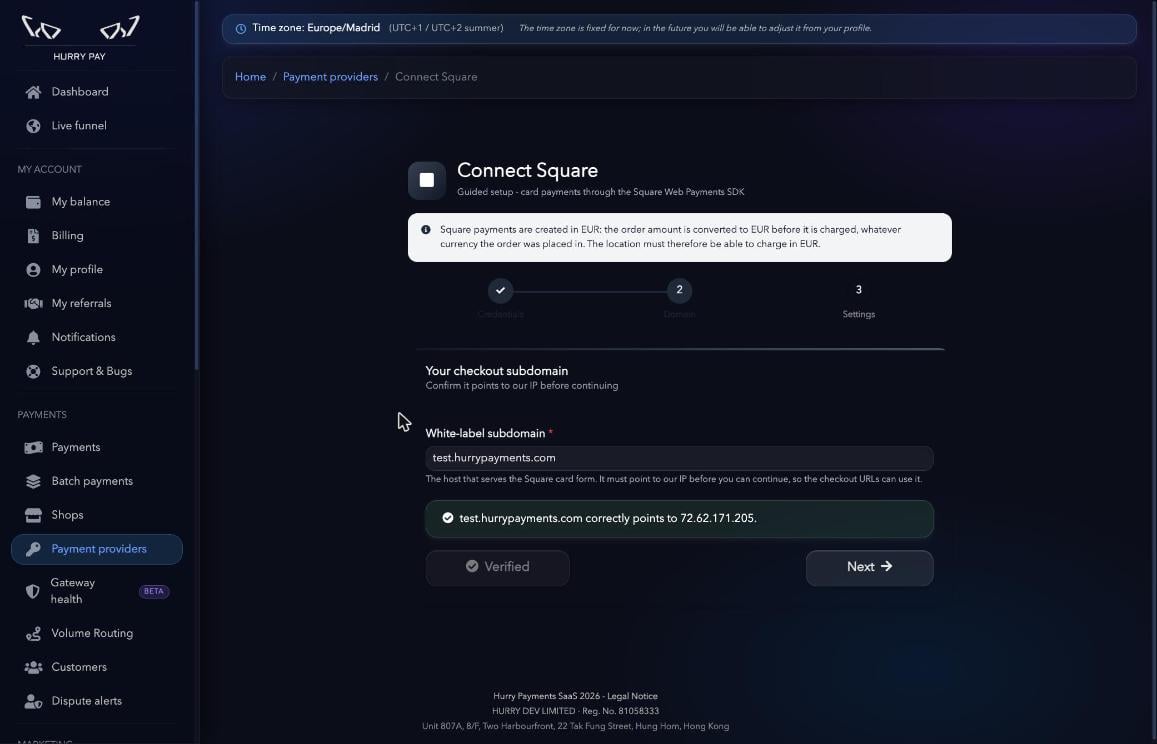
Step 4. Review the connection status
At the top of the settings step you’ll see a summary:- Square account: account name, location, environment (SANDBOX or PRODUCTION) and Connected status.
- SSL status: the subdomain certificate takes about 15 minutes to be generated (Pending). In the meantime, test the checkout on the platform domain.
- Payment confirmation: Square confirms the payment synchronously. The card form returns a token, Hurry creates the payment with the Payments API and Square responds in the same call. You don’t need to register any webhook in Square.
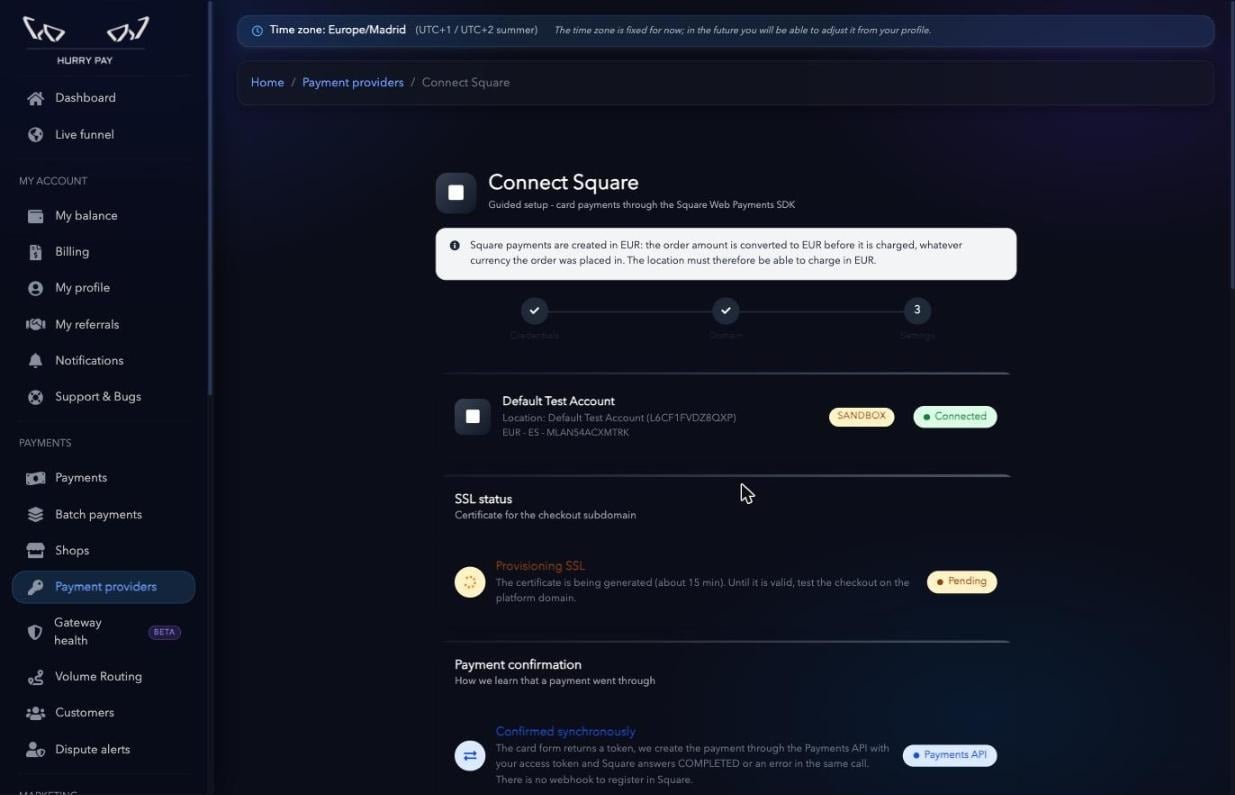
Step 5. Name, status and traffic
- Name: internal name to identify the gateway. By default it’s filled in as
Square - <account name>. - Status: Active or Inactive. By default it’s created as Inactive and doesn’t receive payments until you activate it.
- Traffic: relative weight used to split payments between your gateways.
- Square account: shows the environment, the Application ID and the chosen Location ID. You don’t need to change it.
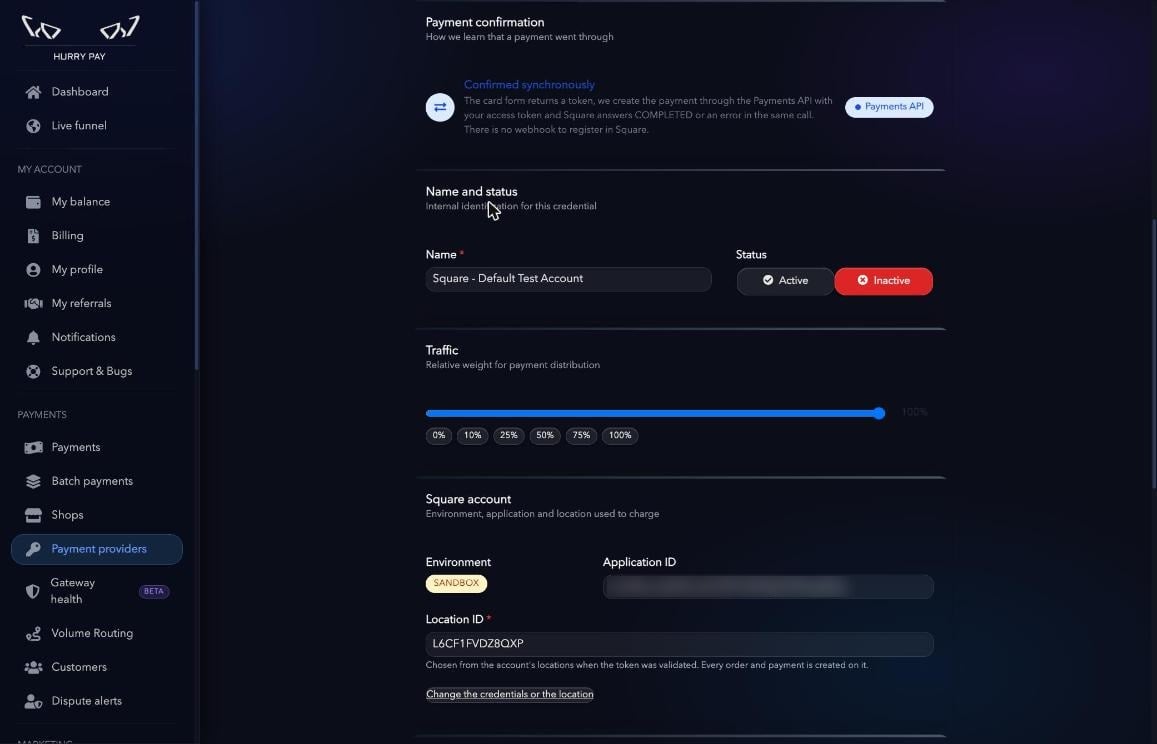
Step 6. Advanced settings (optional)
The default values work in most cases.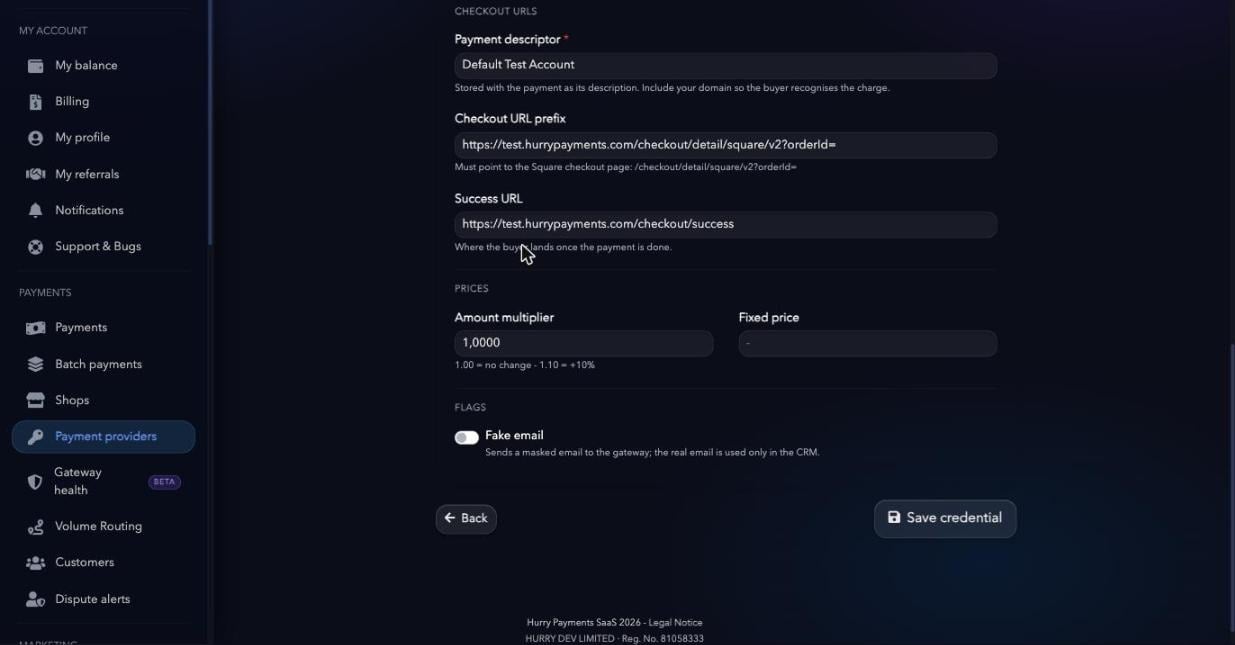
Step 7. Save
Click Save credential. The Credential created successfully message appears.