
Before you start: product sync by SKU
This point is essential for the integration to work correctly. Hurry matches products between both stores using the SKU of each product or variant. This means product names, descriptions and images can differ between the two stores. What matters is that matching products have exactly the same SKU.
For example, even if the product is called Premium Sneaker in one store and Nike Air Max Sneaker in the other, Hurry knows they are the same product because both use the SKU
SHOE-001.
Incorrect example
In this case, Hurry can’t identify the matching product because the SKUs are different.
Important: Check the SKUs of all products and variants before activating the integration. The match must be exact, including letters, numbers, hyphens and spaces.
Step 1. Set up a domain in Shopify
Before connecting the store to Hurry, make sure it has a domain set up correctly in Shopify. You can check this under: Settings → Domains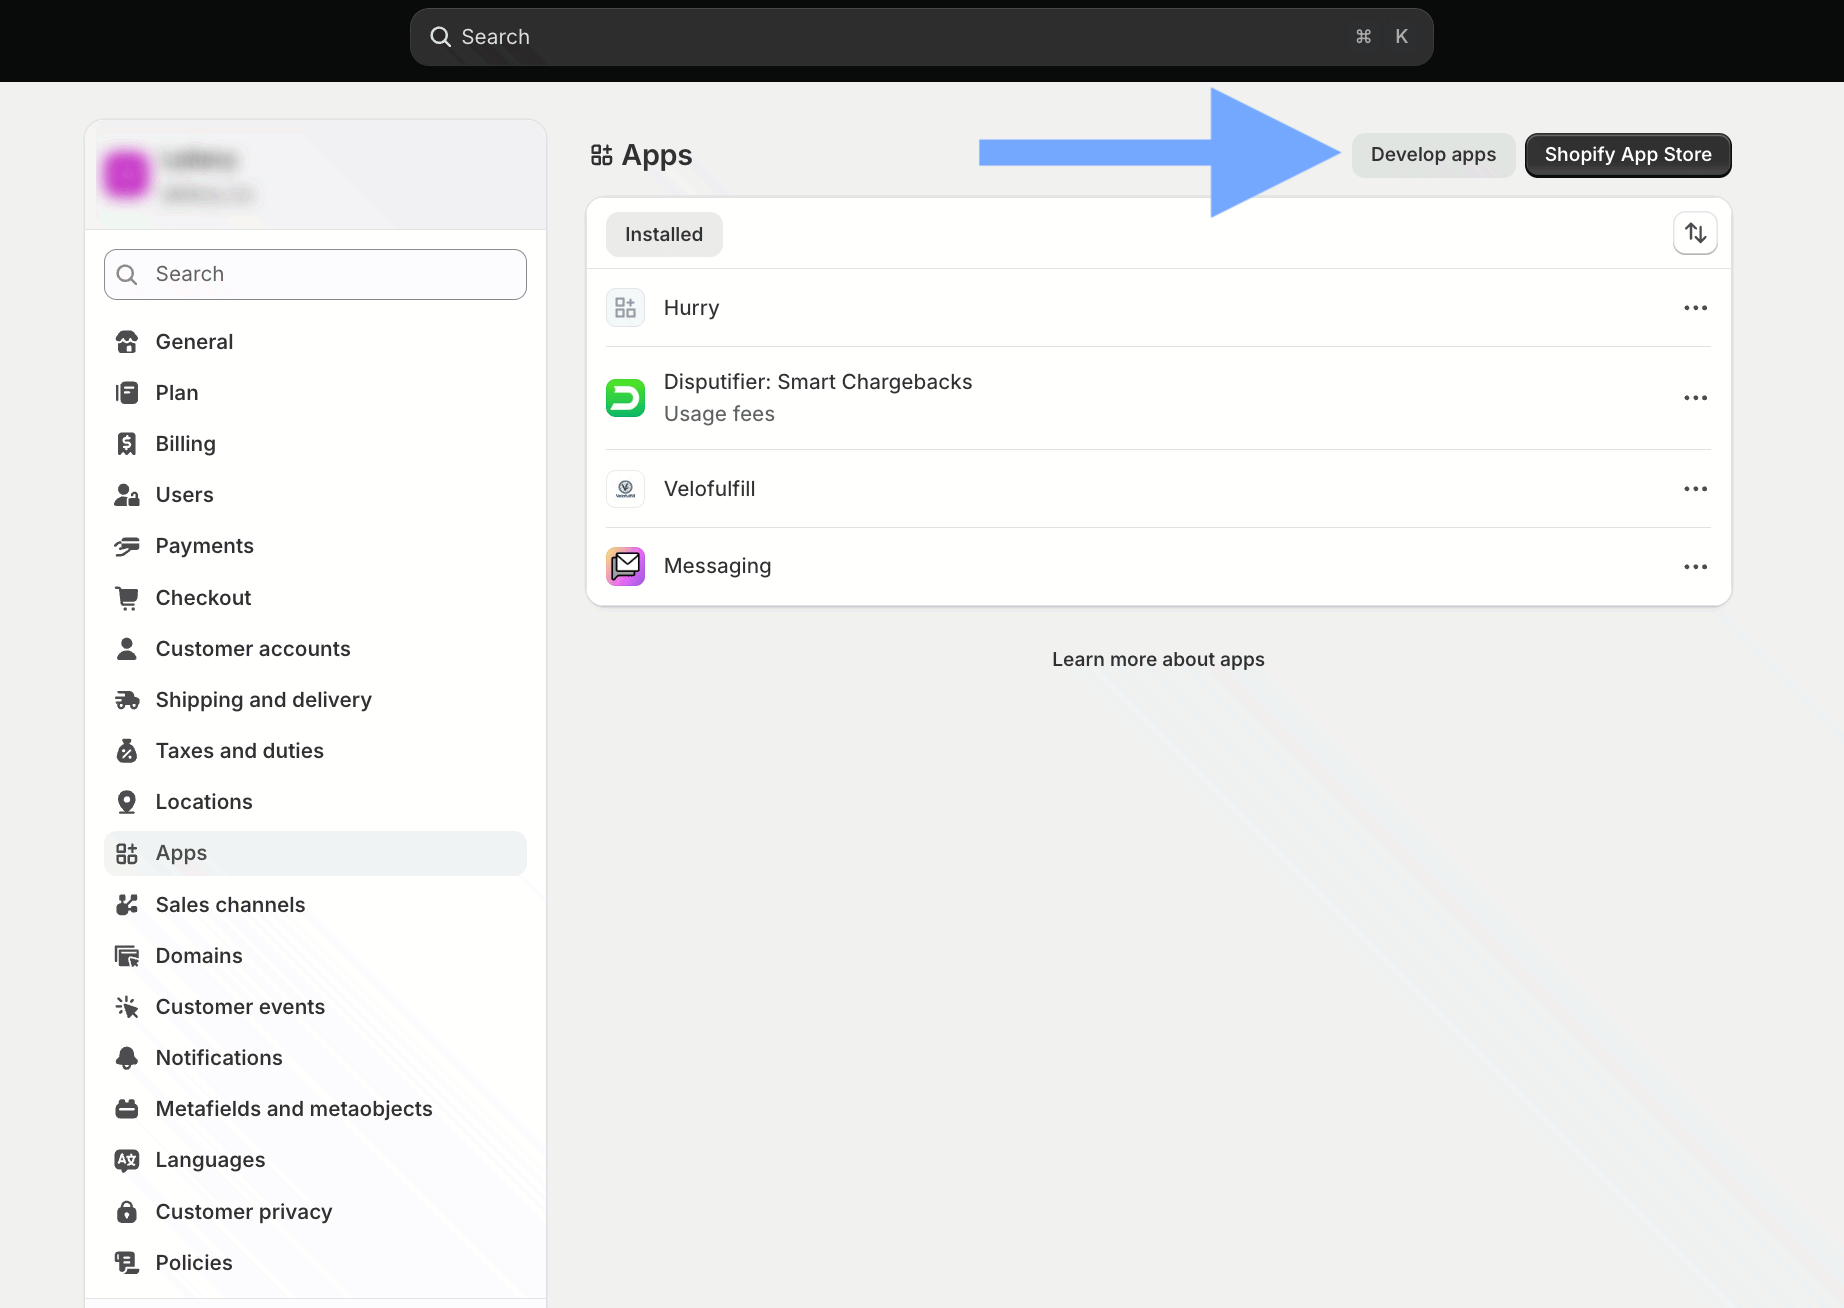
Step 2. Set up the checkout subdomain
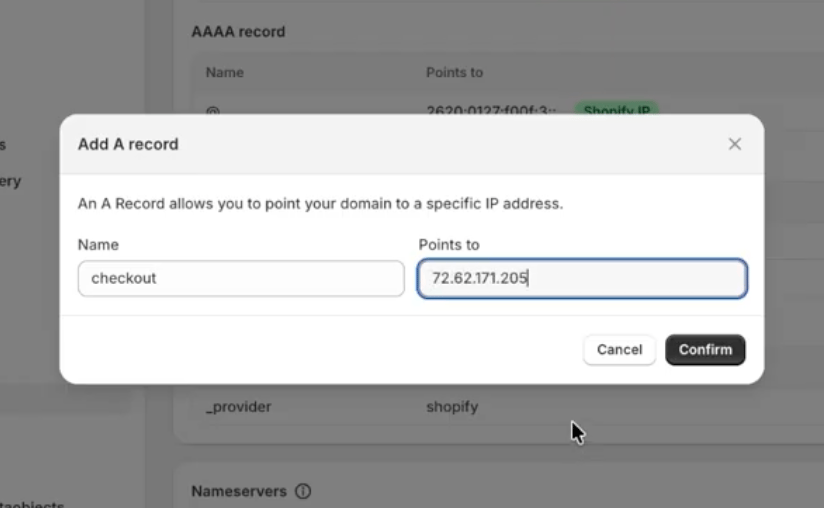
Create a subdomain for the checkout following the same procedure used for the Stripe connection. For example:checkout.yourdomain.com
In your domain’s DNS provider, create an A record with the following settings:
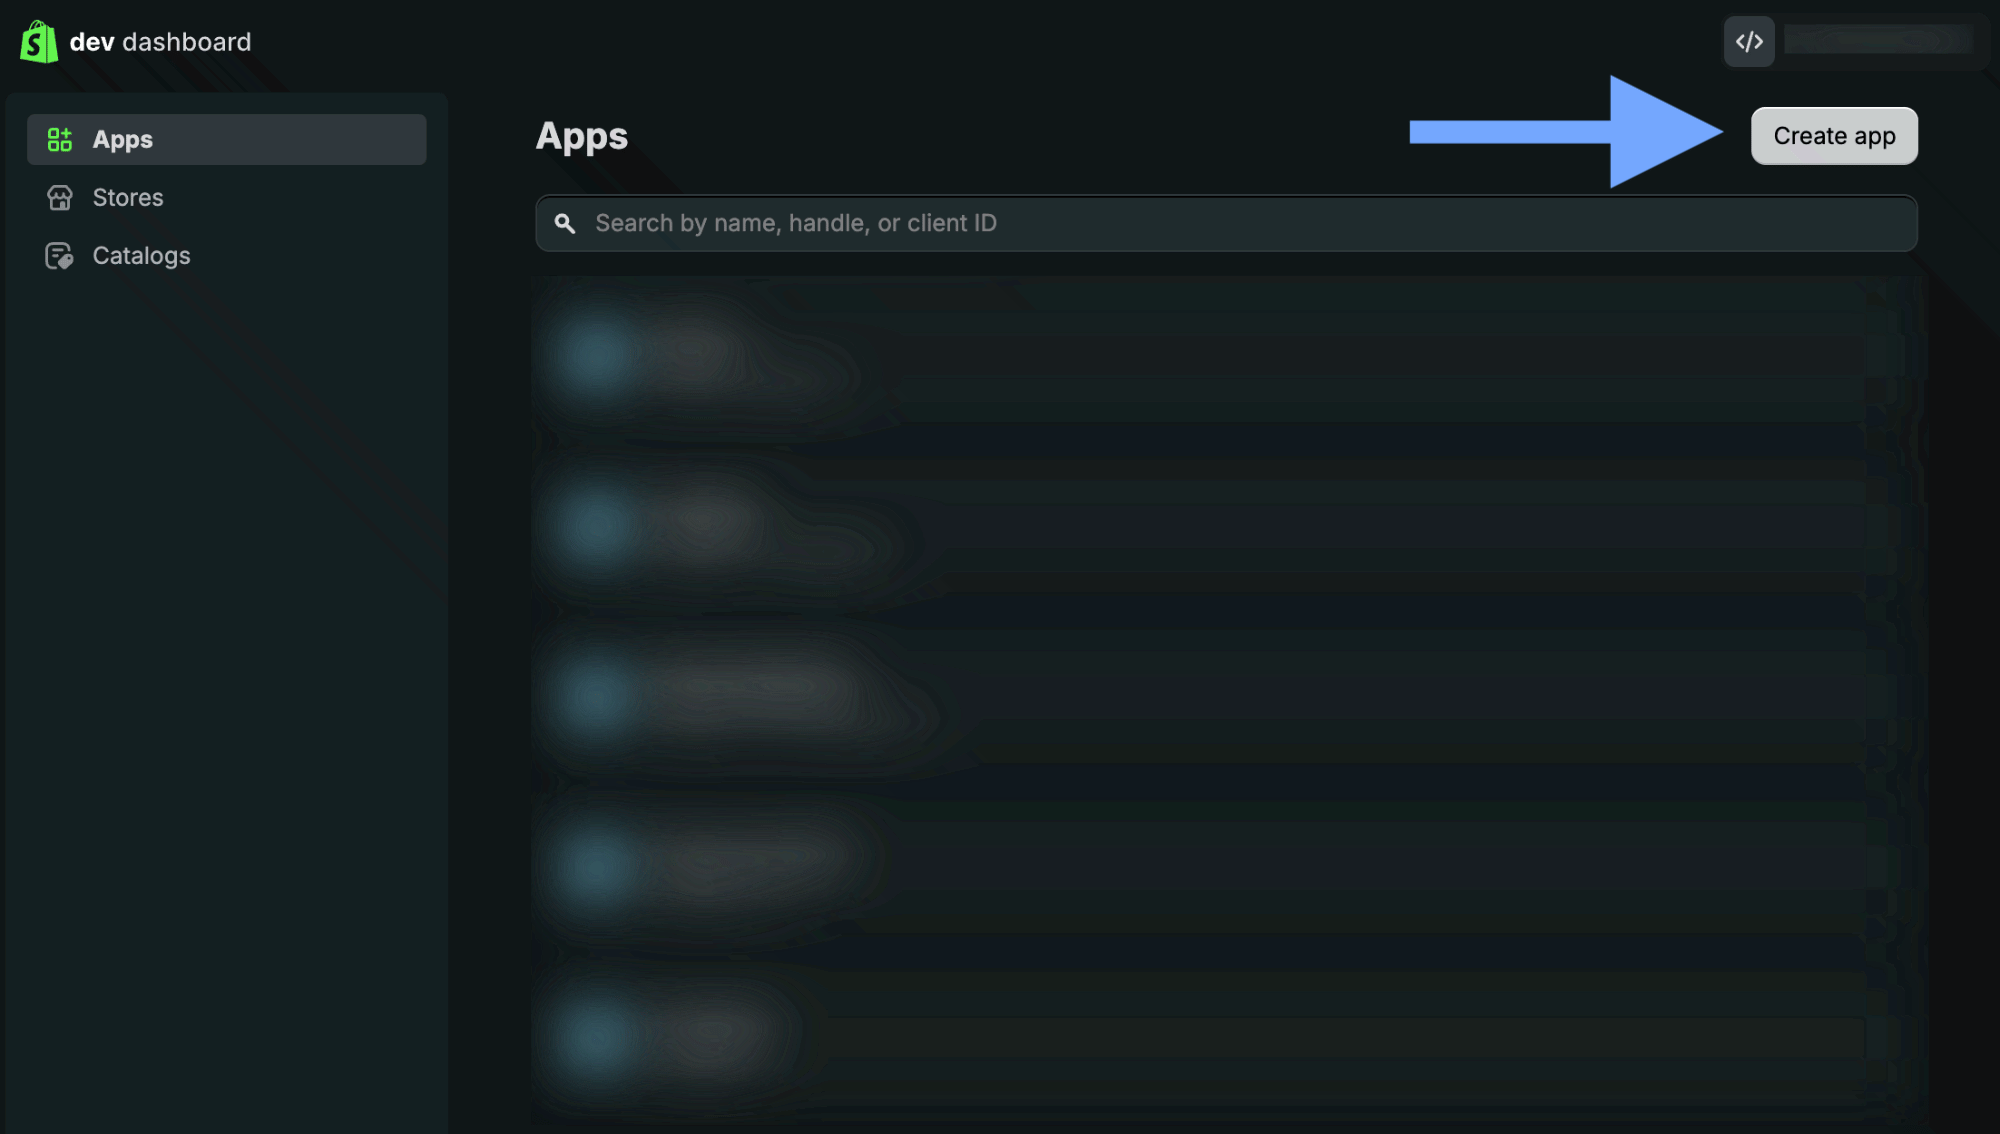
Step 3. Open the Shopify Dev Dashboard
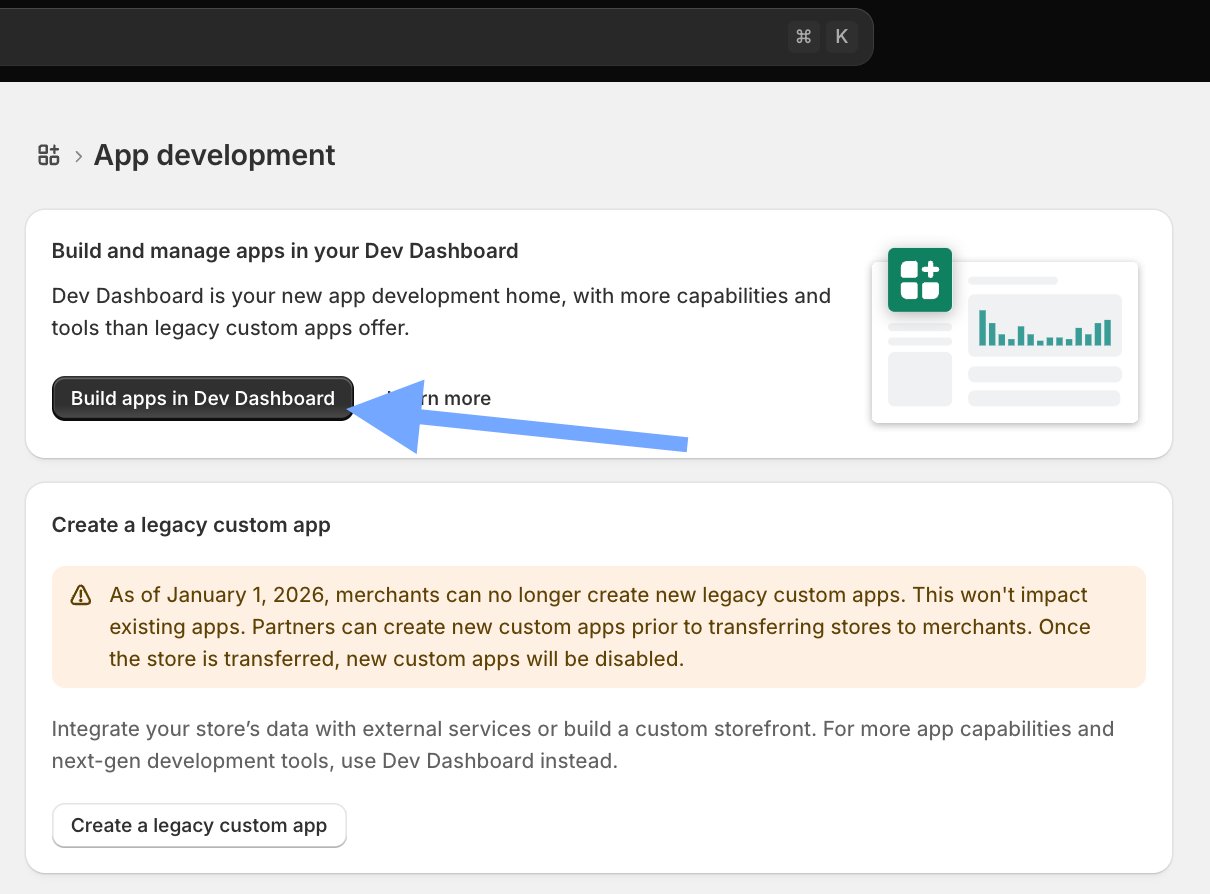
In Shopify, go to: Settings → Apps Then open Develop apps in Shopify Dev Dashboard.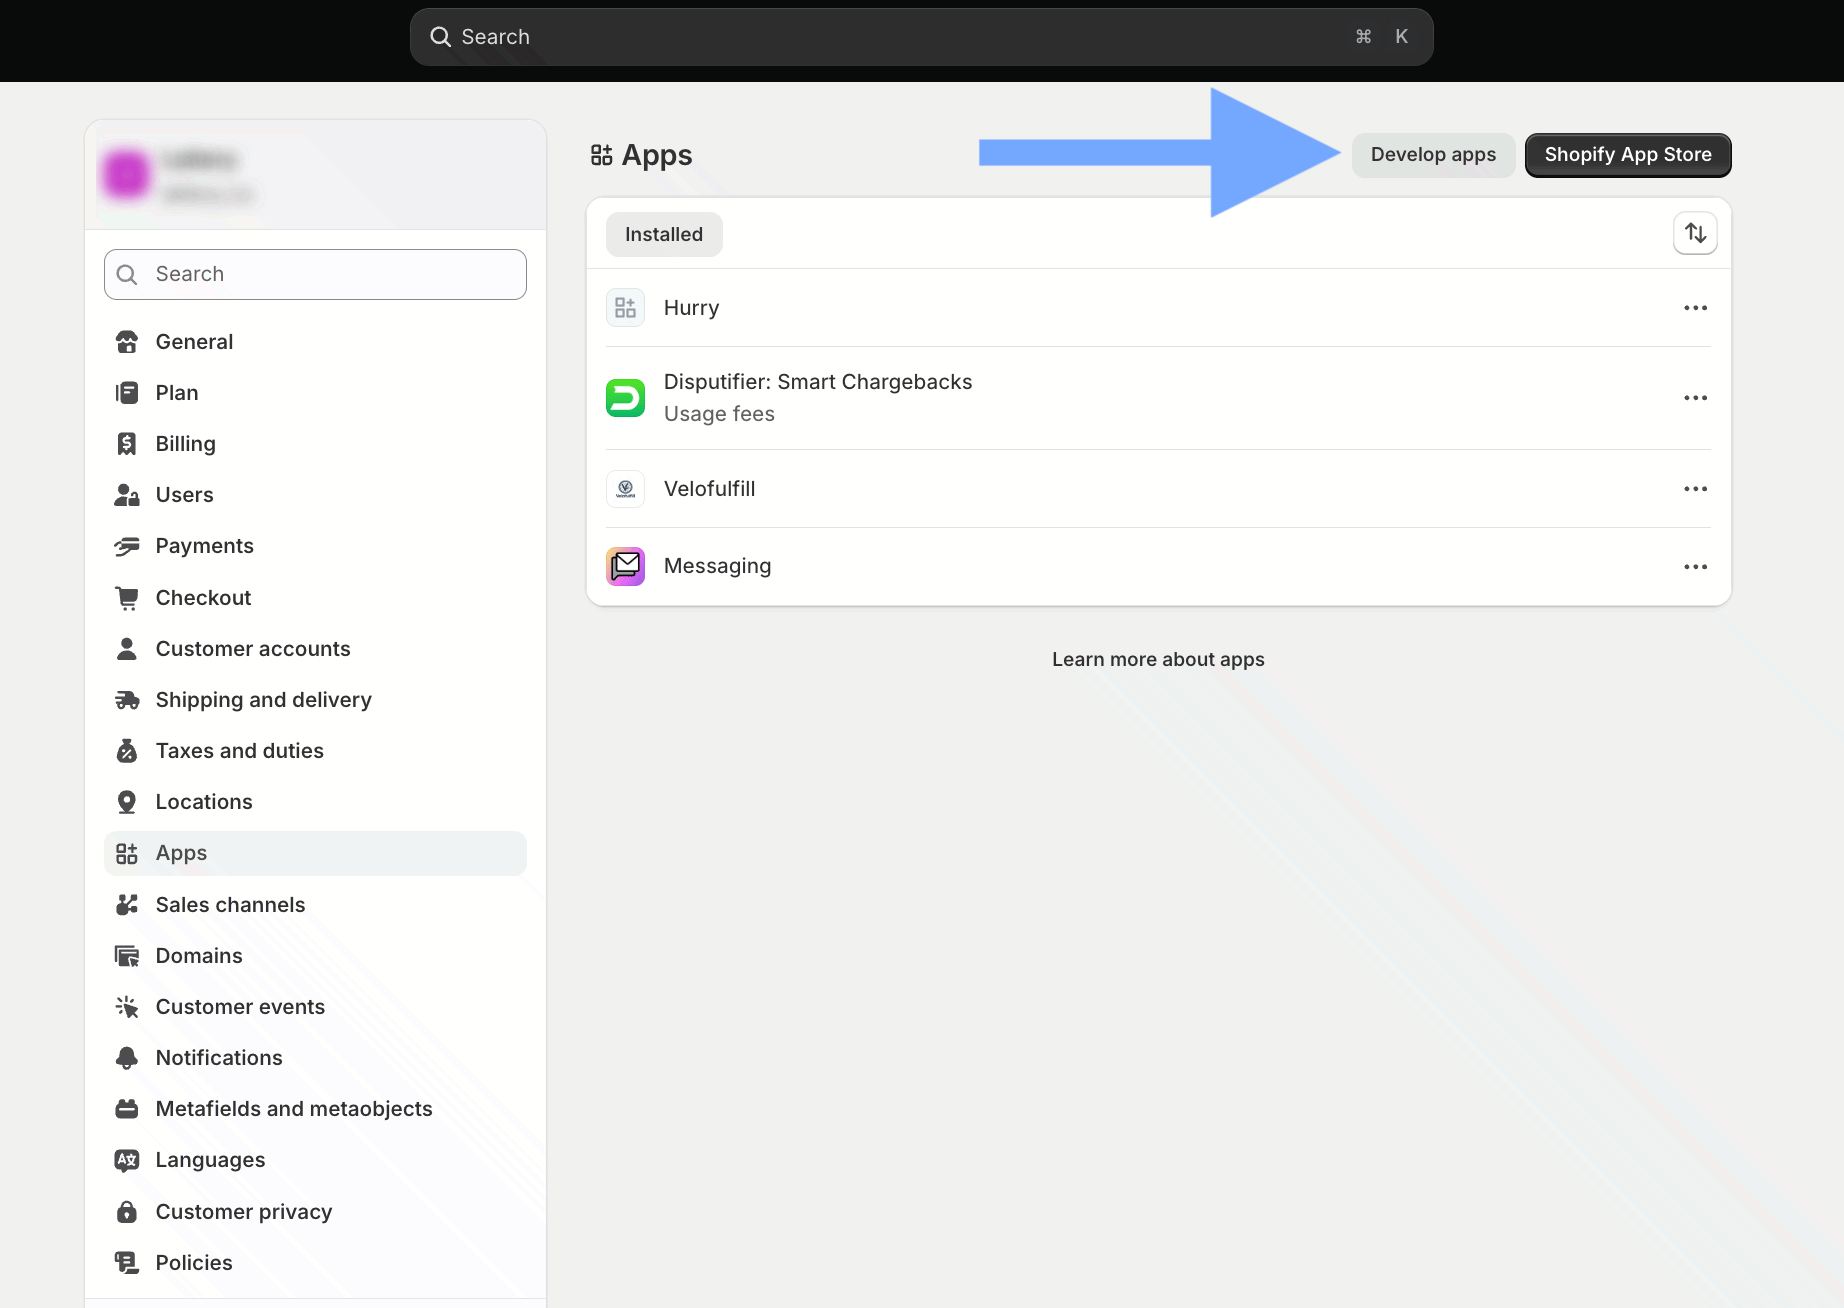
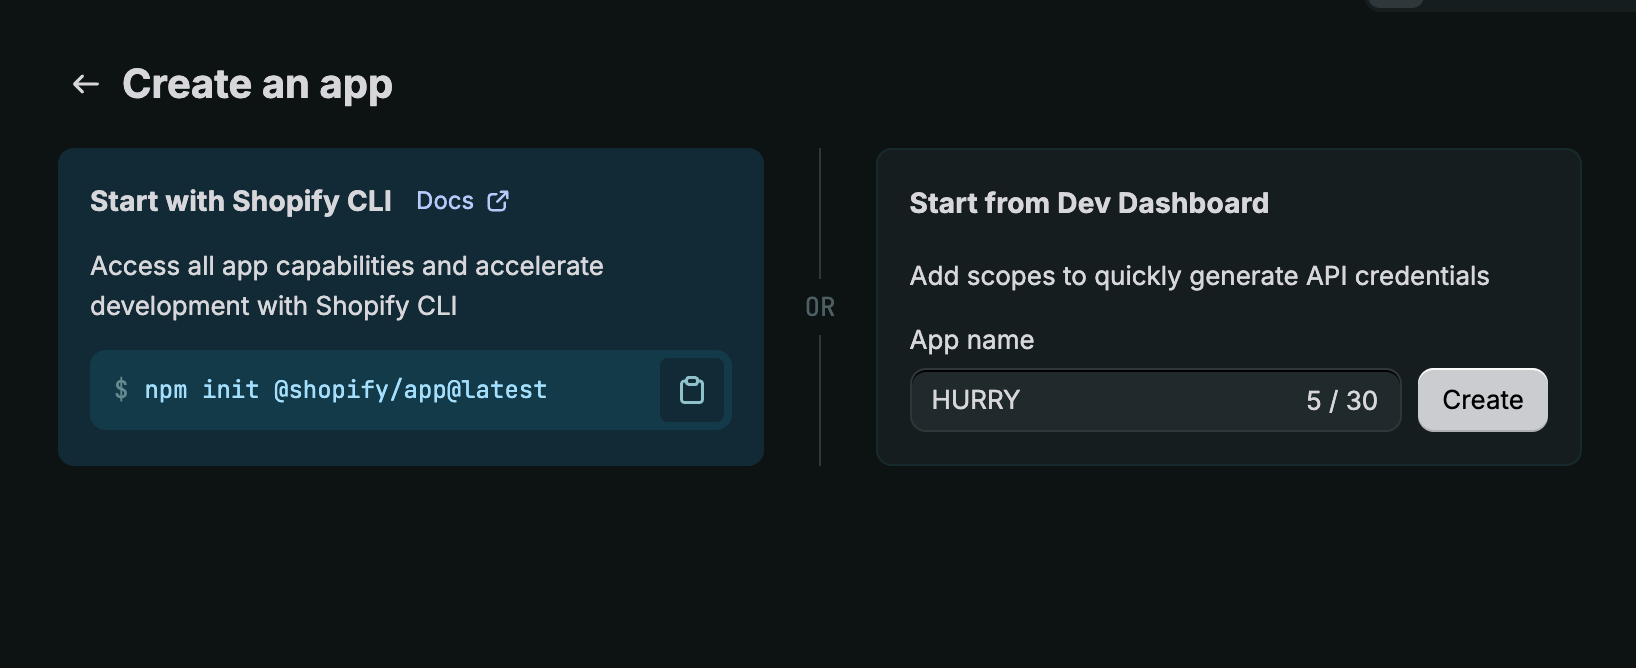
Step 4. Set the domain
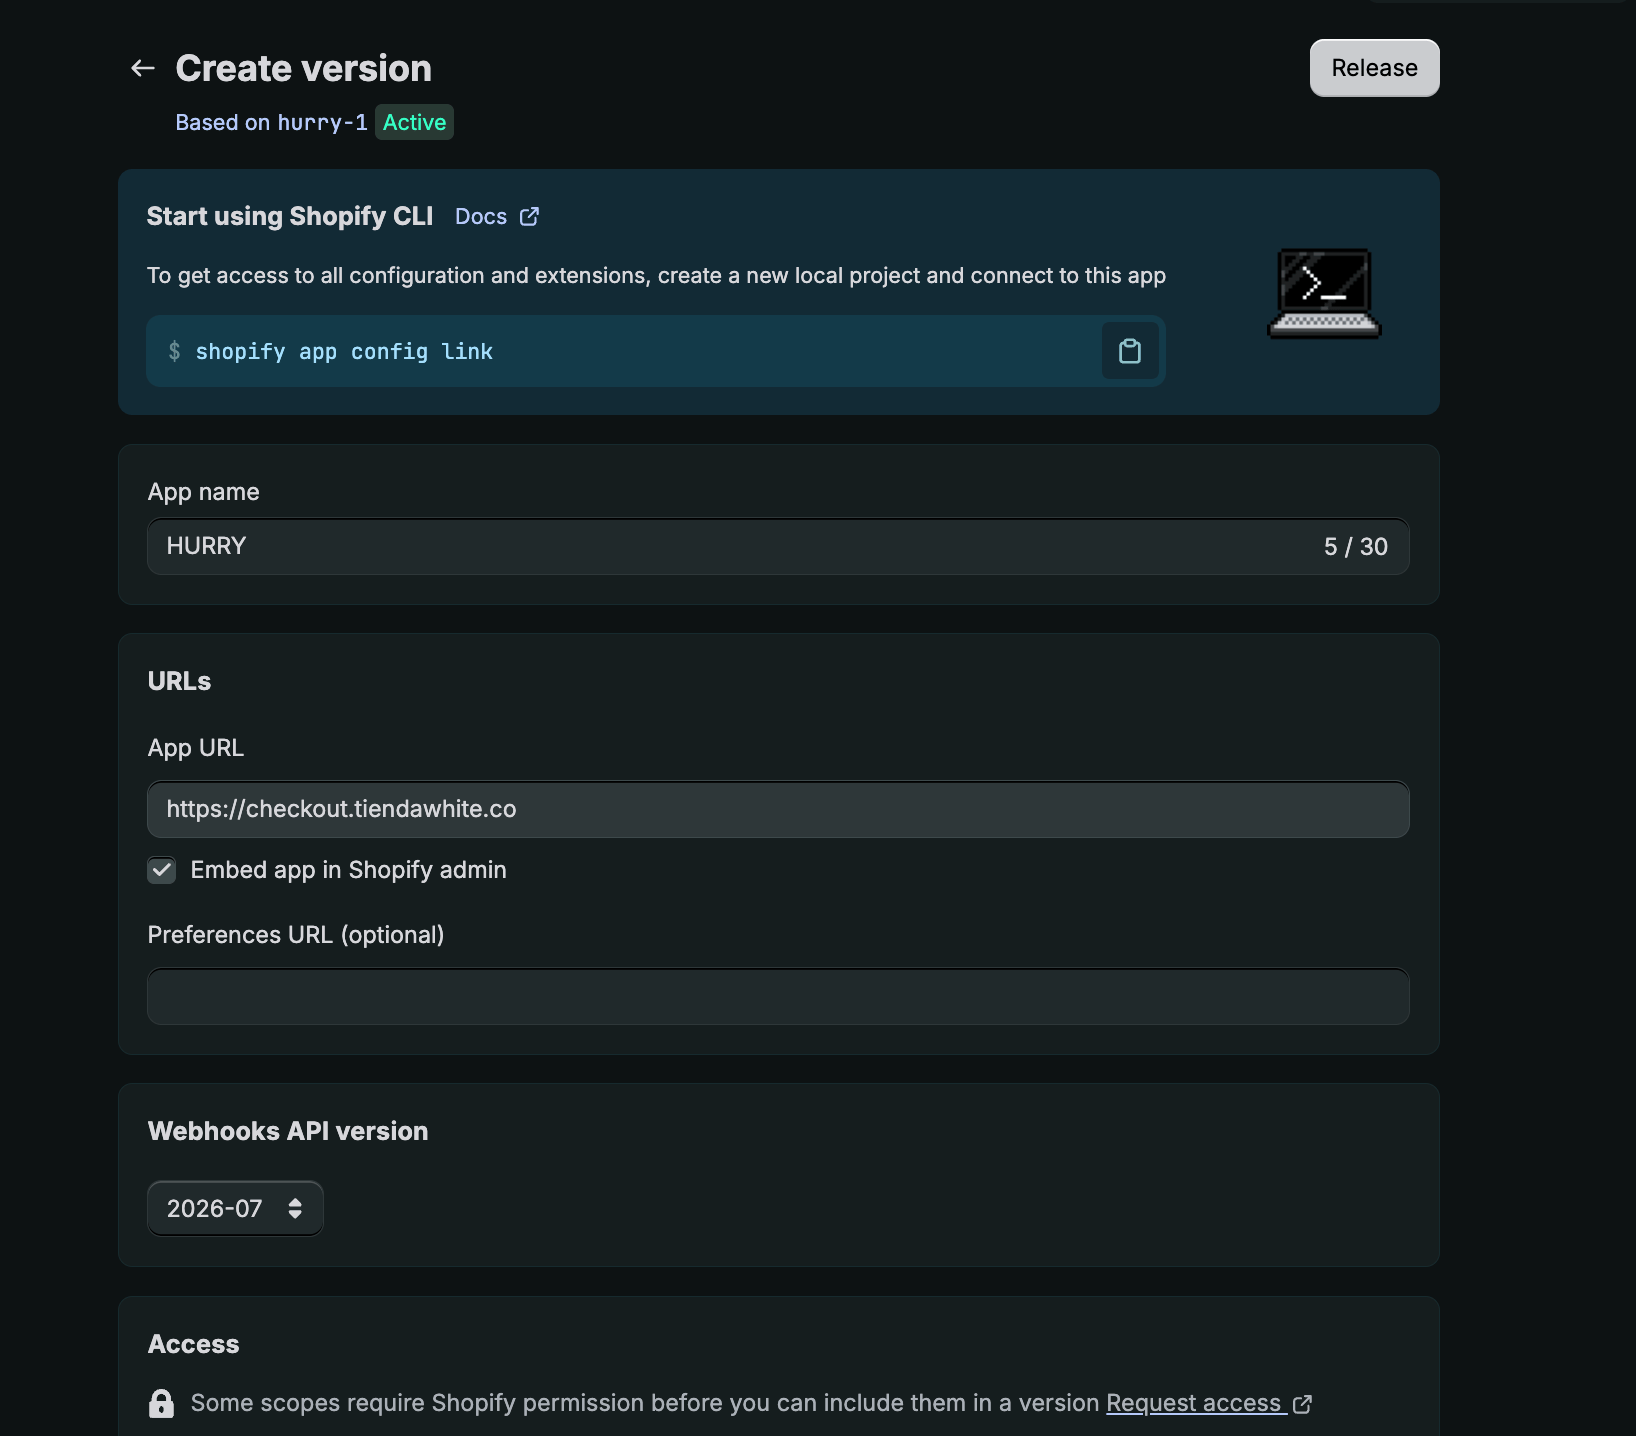
While setting up the app, enter the checkout subdomain, always using HTTPS. For example:https://checkout.yourdomain.com
Important: Always include https:// when entering the domain.
Step 5. Set the app permissions
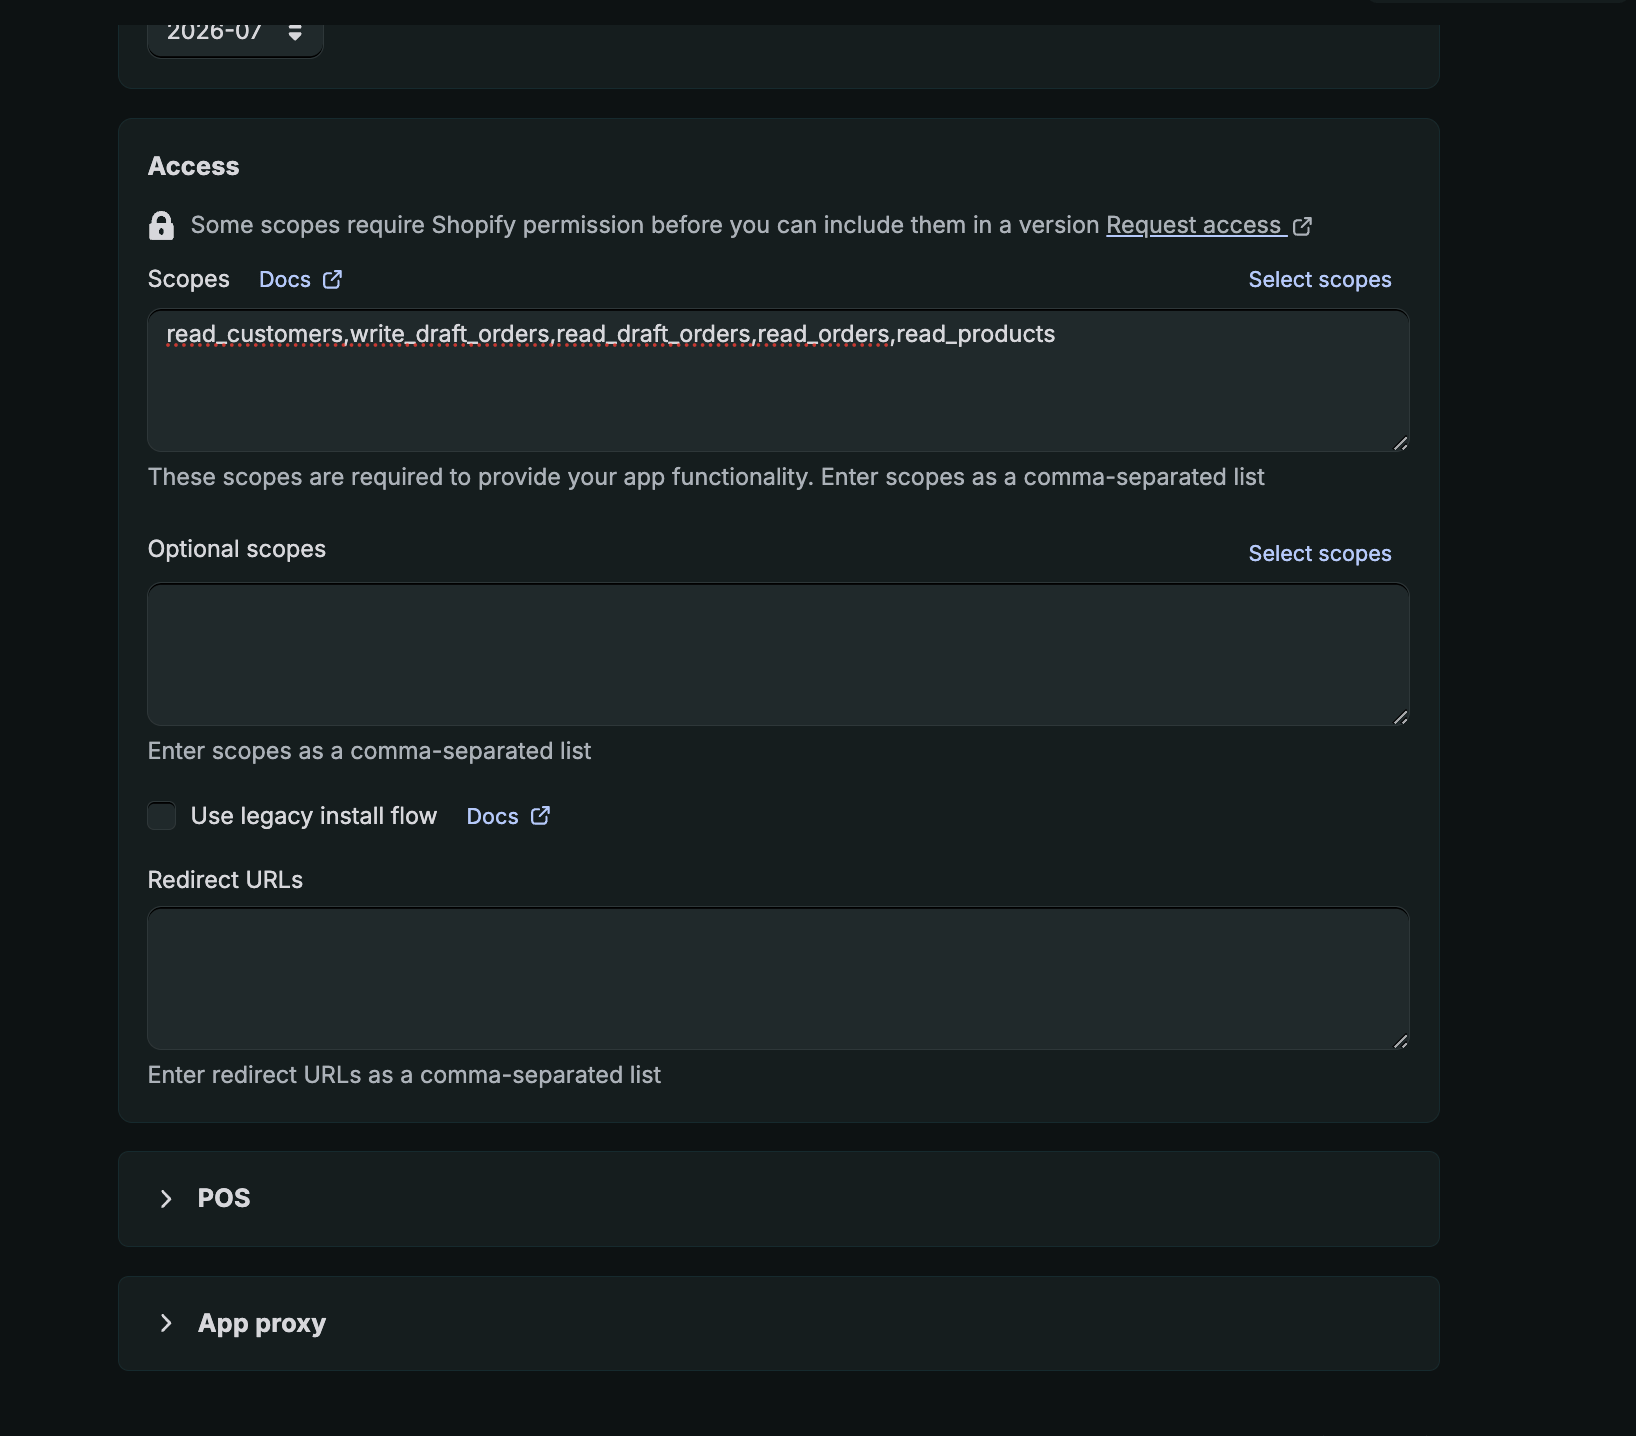
While setting up the app, copy and paste the following scopes:read_customers,write_draft_orders,read_draft_orders,read_orders,read_products
These permissions let Hurry read the customer, product and order information it needs, and create the Draft Orders required for the integration.
Step 6. Get the credentials
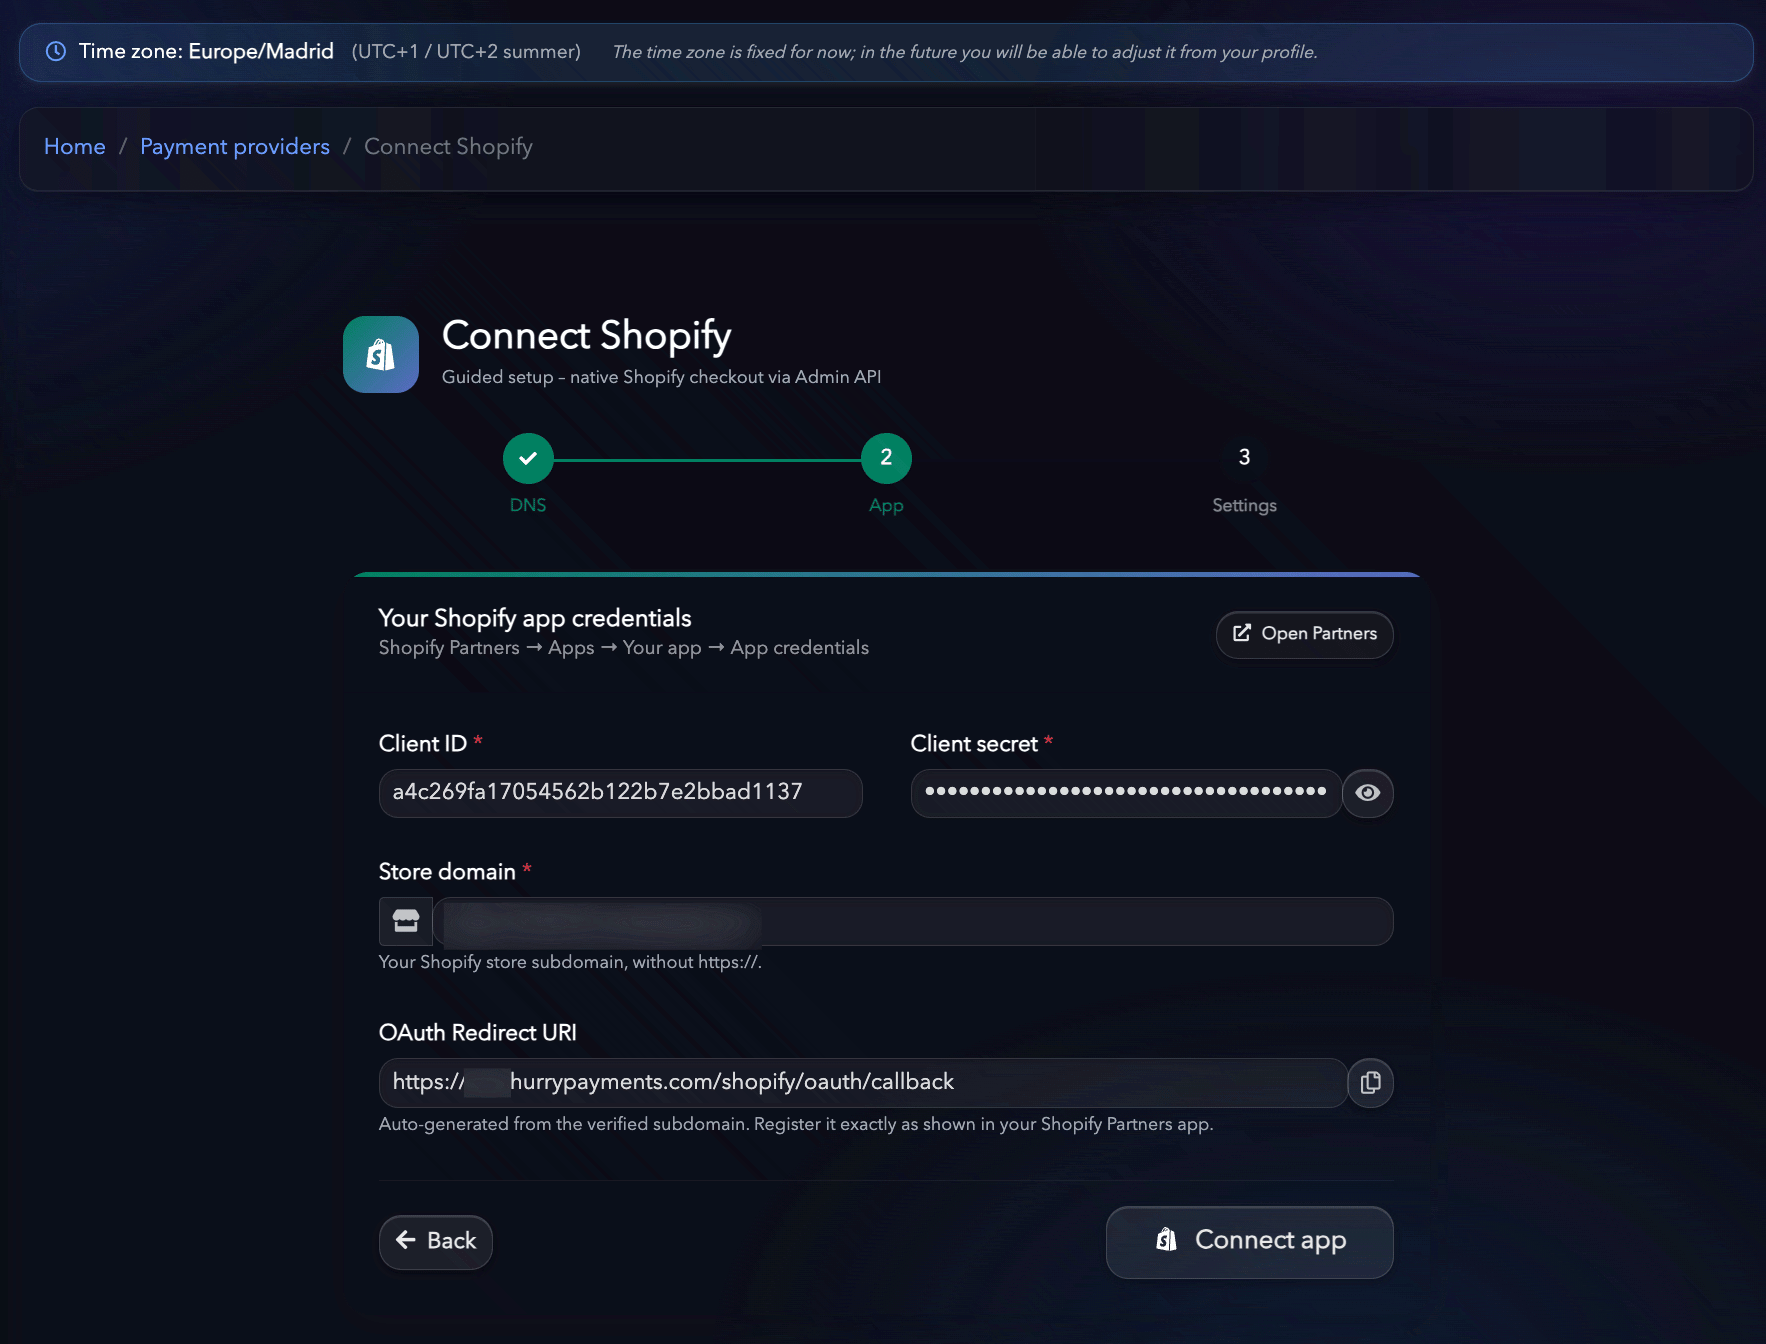
Once the app is created, go to Settings in the Shopify Dev Dashboard. Copy the following credentials:- Client ID
- Client Secret
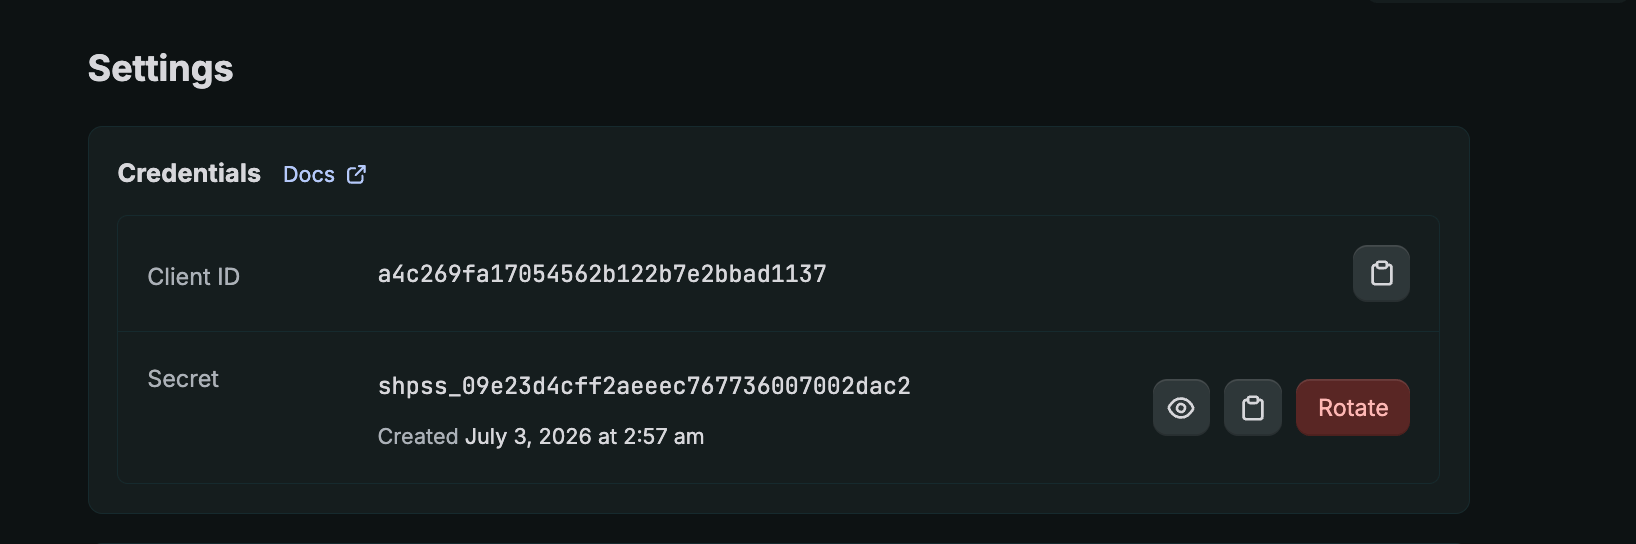
Security: The Client Secret is a private credential. Don’t share it or publish it in documentation, screenshots or public channels.
Step 7. Connect the app
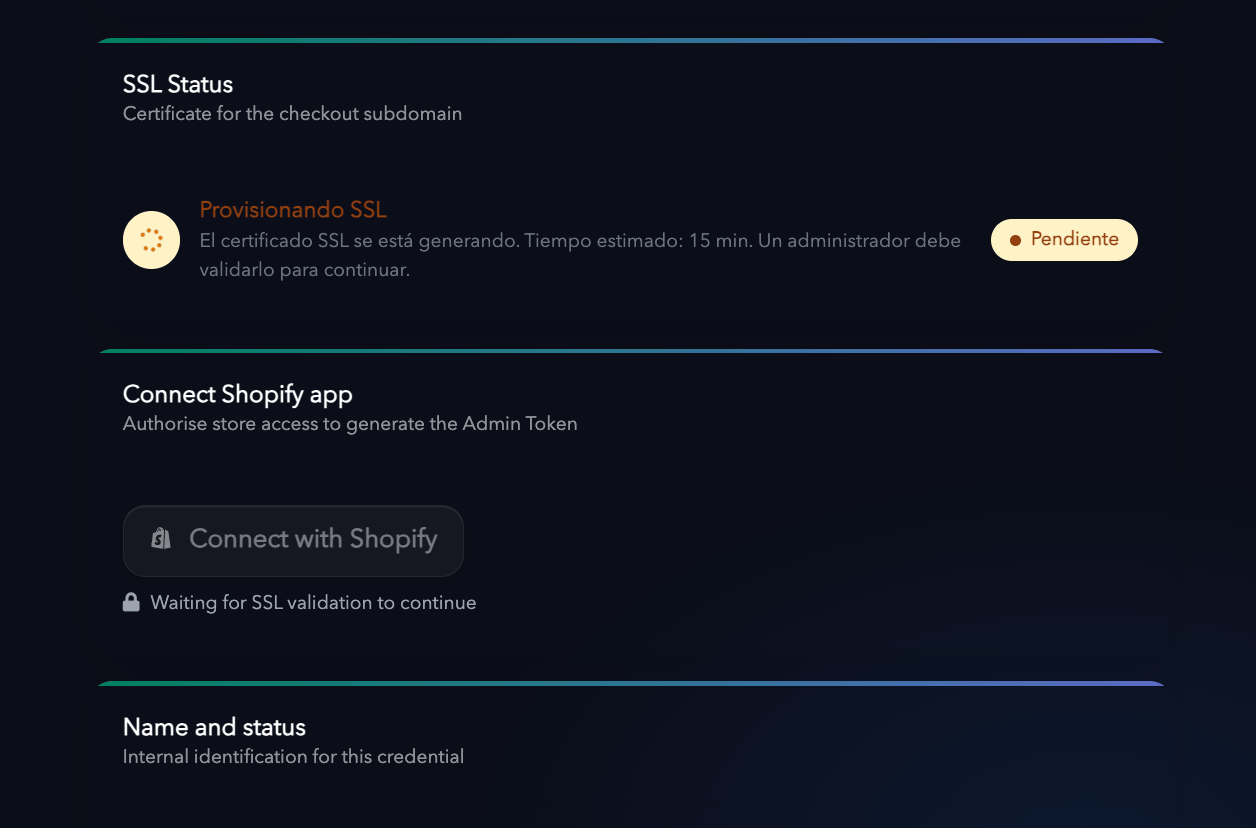
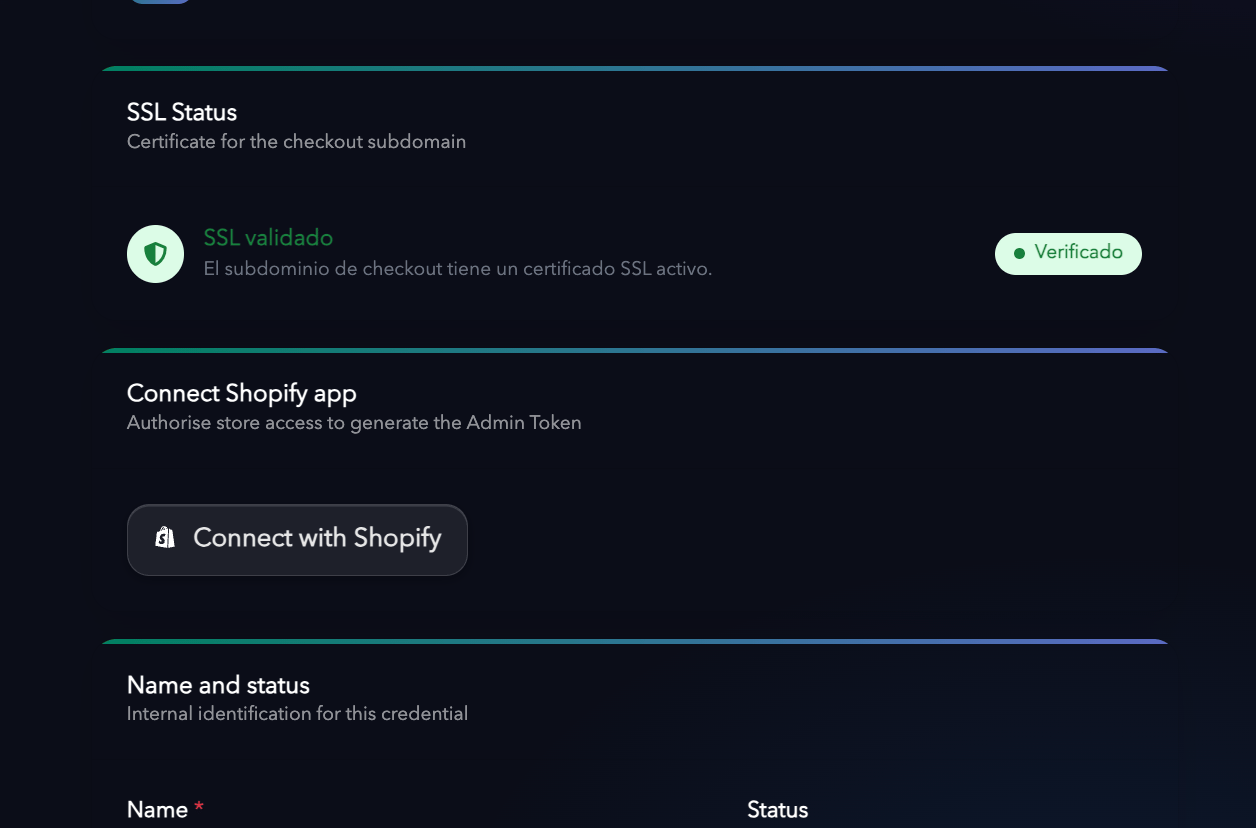
Once you’ve entered the credentials, save the settings and click Connect app. Complete the Shopify authorization process and, when it’s finished, check that the integration shows as Active in Hurry.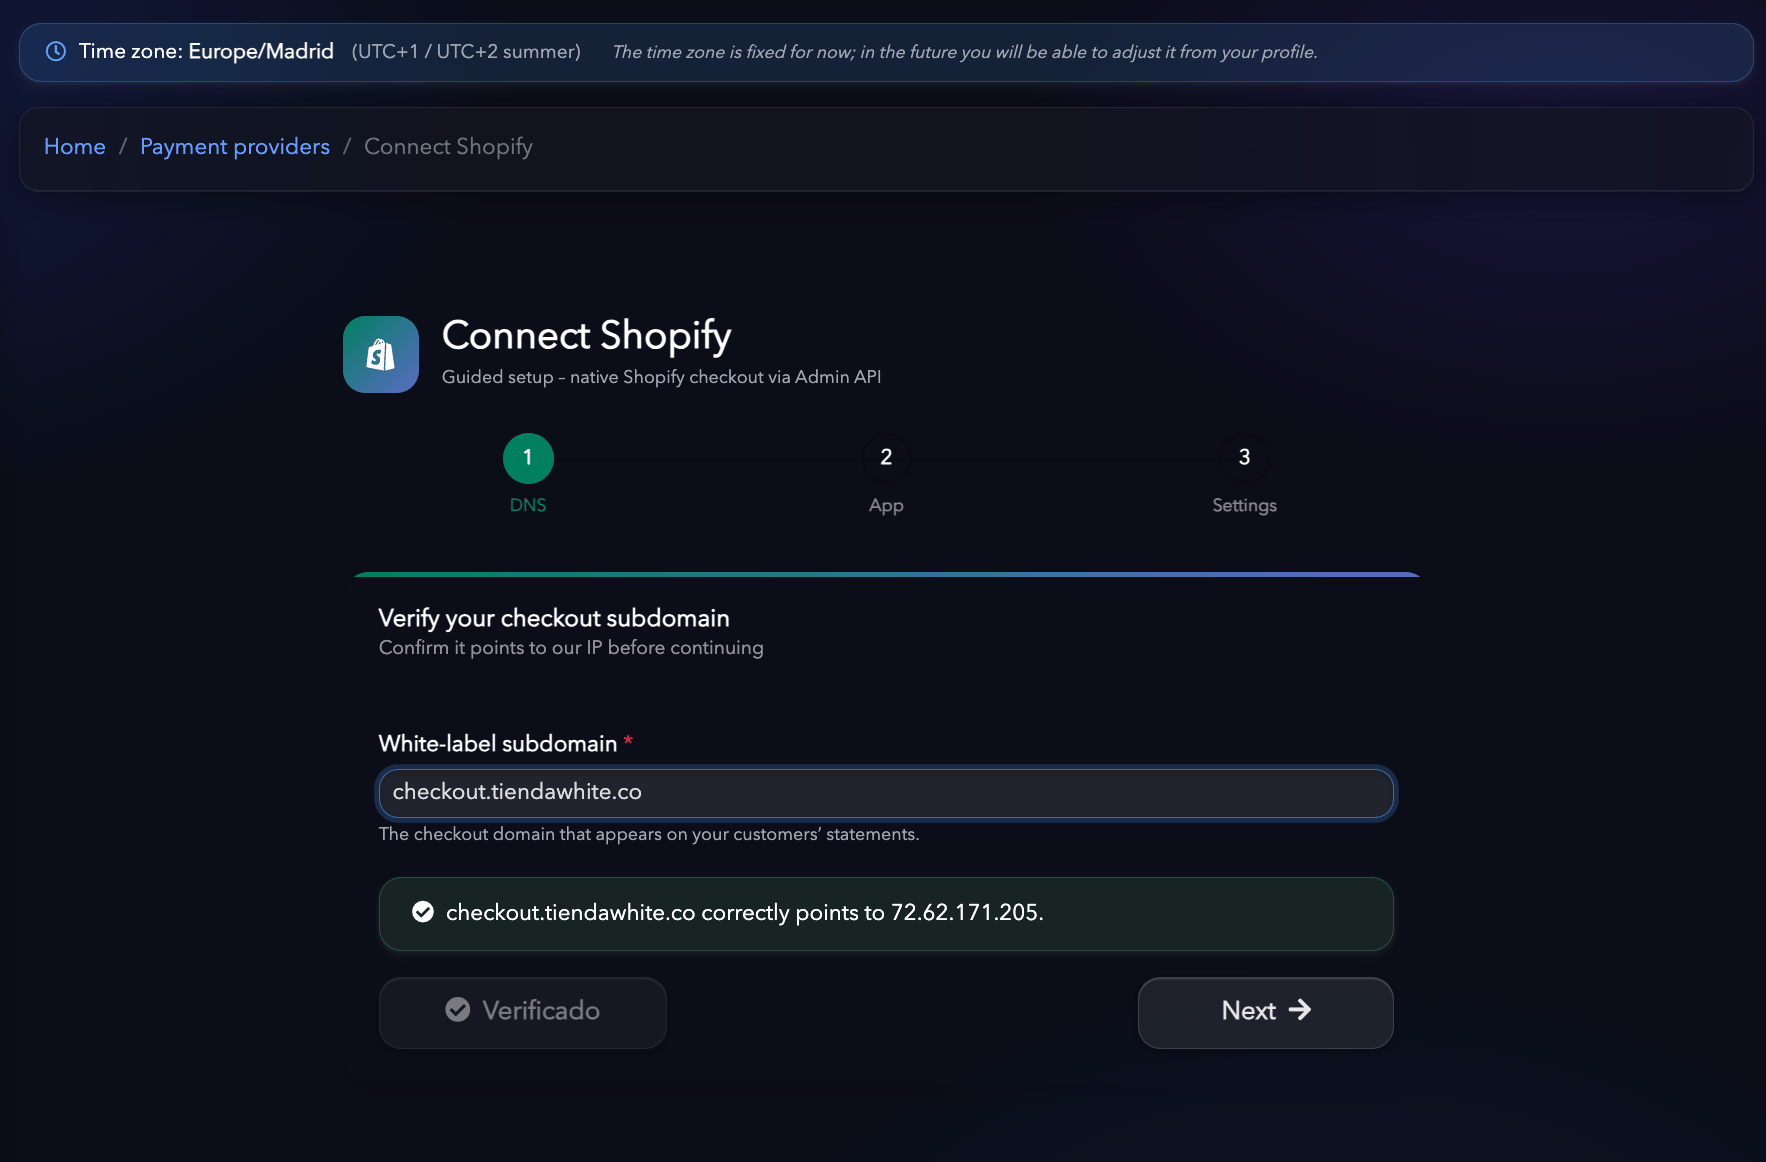

Final check
Before you start processing orders, check the following:- The store’s domain is set up correctly.
- The checkout subdomain resolves correctly.
- The app has all the required scopes.
- The Client ID and Client Secret are correct.
- The app shows as active.
- Matching products in both stores have exactly the same SKU.