- Sends a confirmation email right after an order.
- Waits a few hours and sends the customer an SMS.
- Sends a cart recovery sequence by email and SMS.
- Runs several consecutive steps within the same flow.
- Trigger: the event that starts the automation.
- Steps: the actions that run afterwards.
Step 1. Create the automation
Go to the Automations section and click New Automation. Before adding steps, set up the automation’s main information.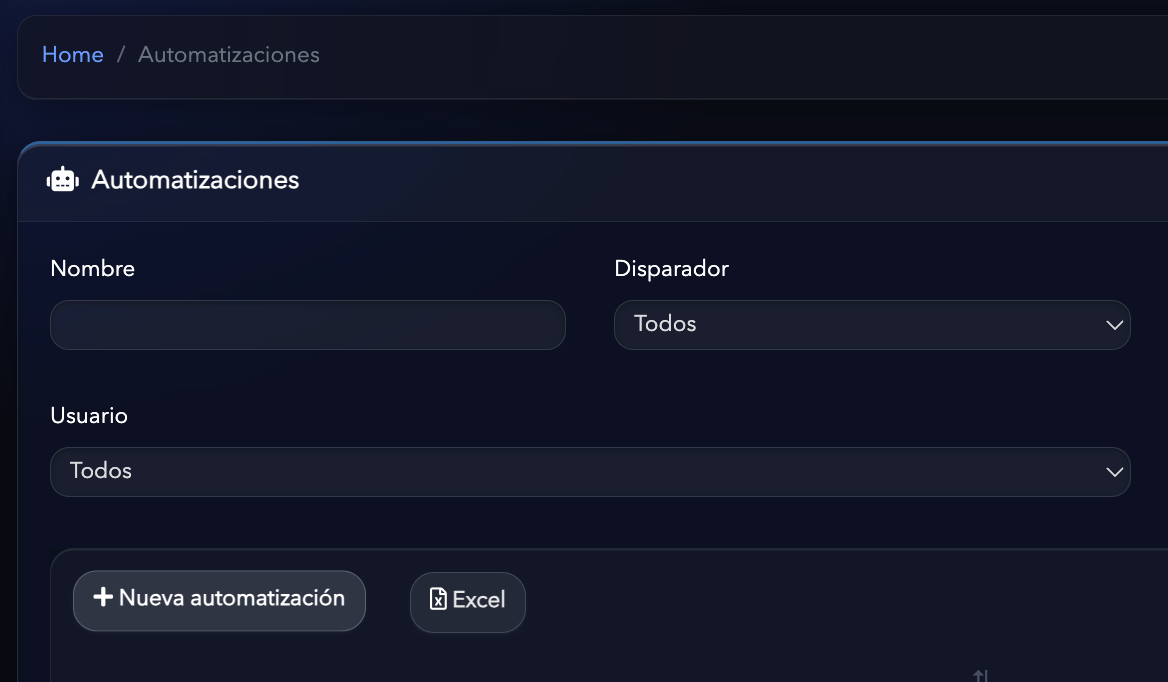
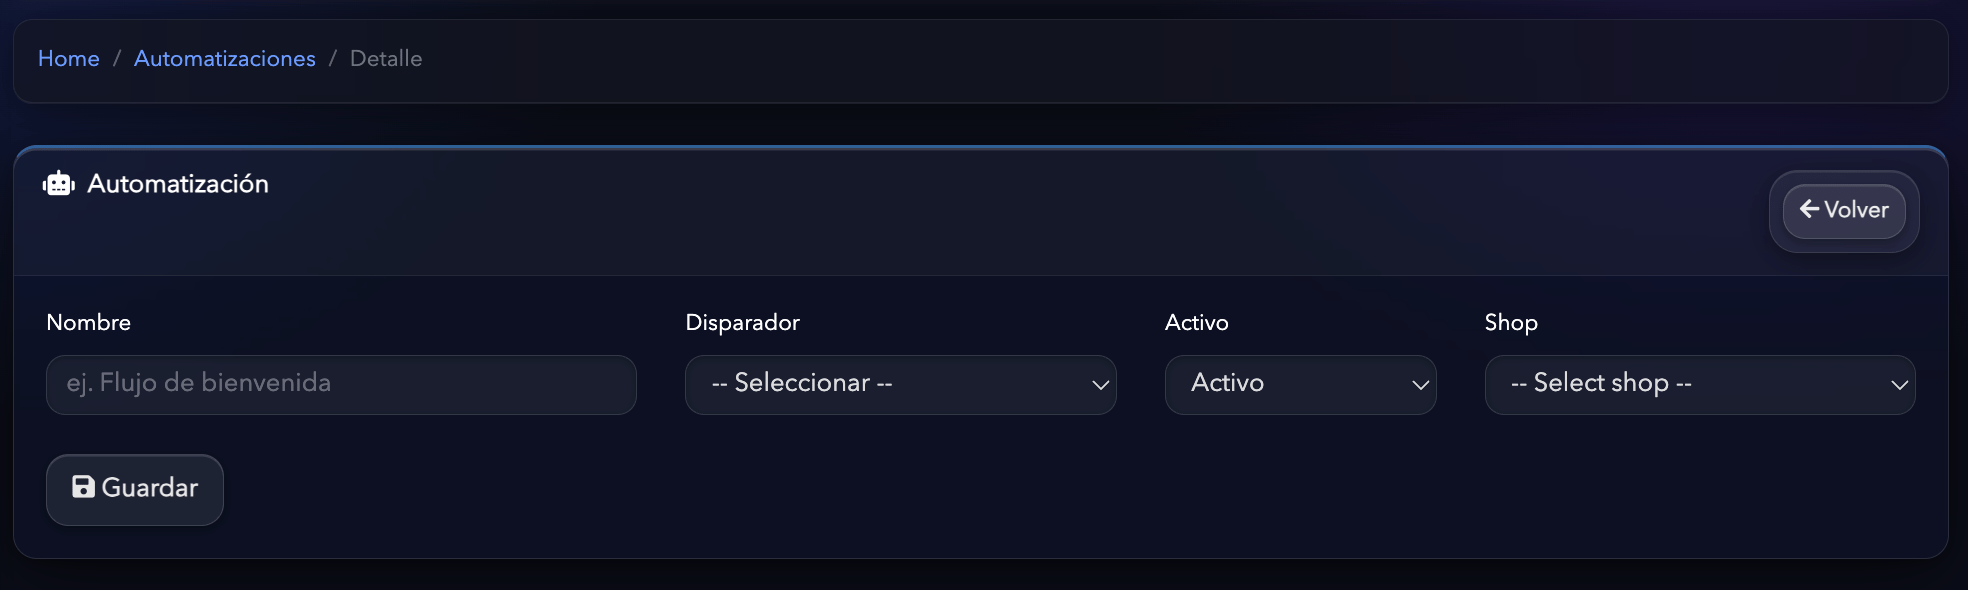
Name
Enter a name that makes the automation easy to identify. For example:- Order confirmation
- Cart recovery
- Post-purchase sequence
- Customer follow-up
Trigger
The Trigger is the event that starts the automation. For example, if you select Order Paid, the automation starts every time an order from the selected store is paid successfully. Choose the trigger that matches the automation’s goal.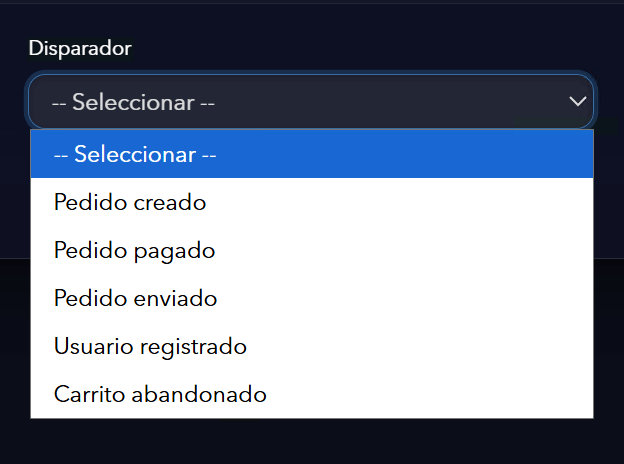
Status
Select whether the automation is Active or Inactive. An active automation starts running when the configured trigger occurs. If you’re still preparing the messages or setting up the steps, you can keep it inactive until the flow is finished.Store
Select the store you want to associate the automation with. The trigger only runs for events that happen in the selected store.Step 2. Save the automation
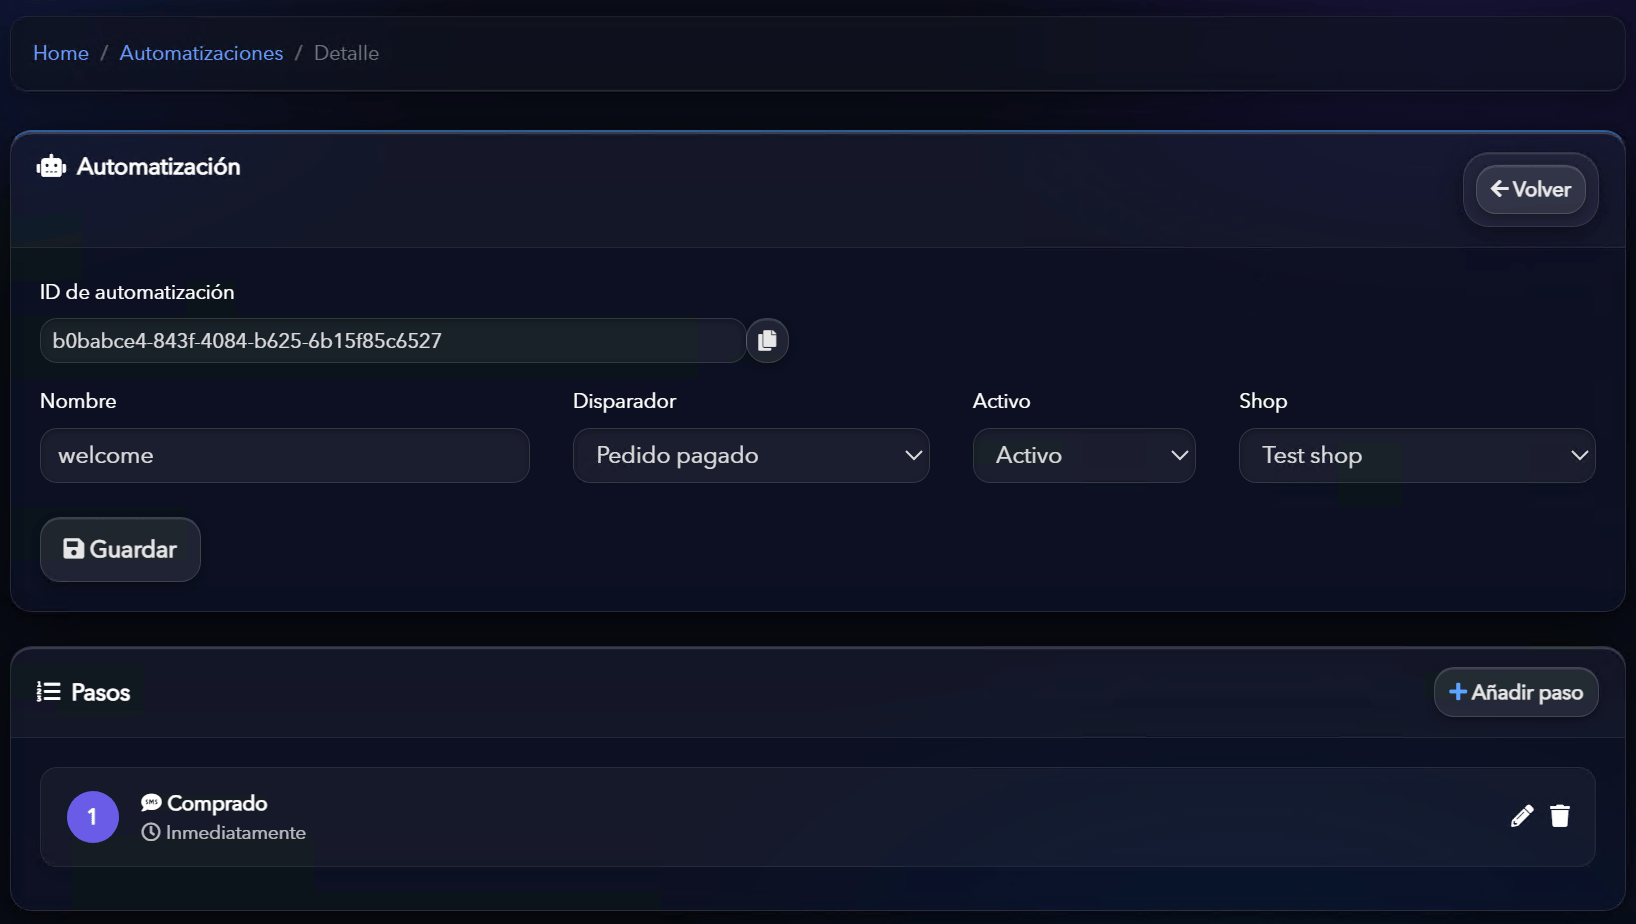
Once you’ve set the name, trigger, status and store, click Save. After saving the automation, the Steps section appears, where you can build the complete flow.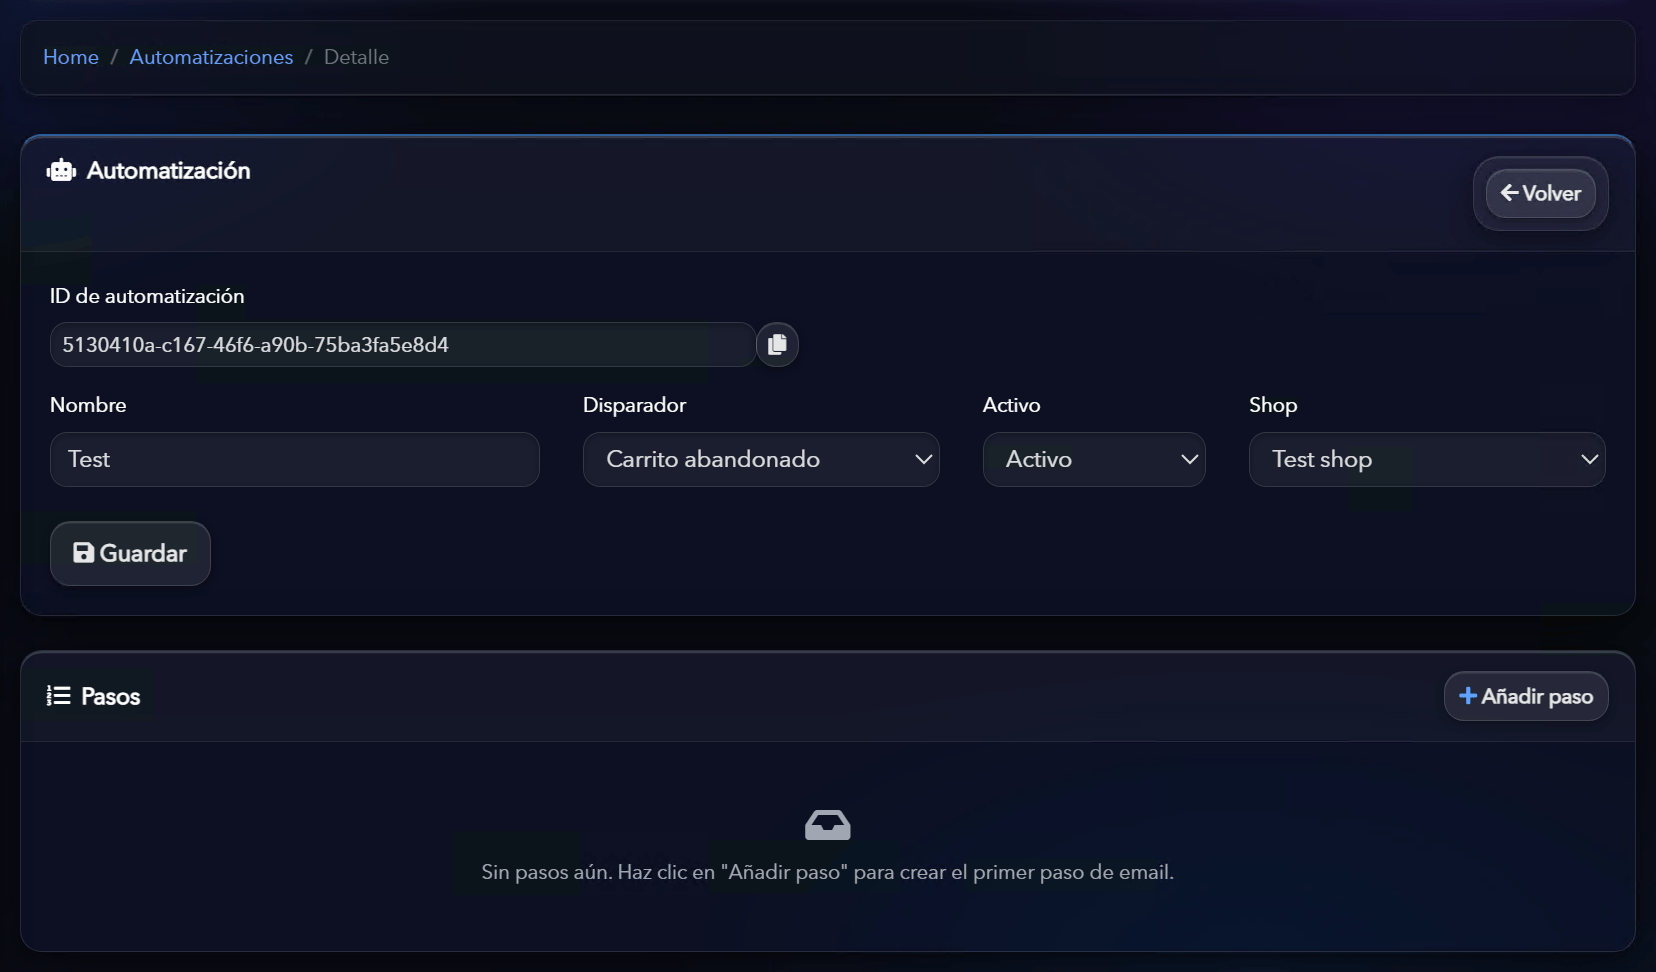
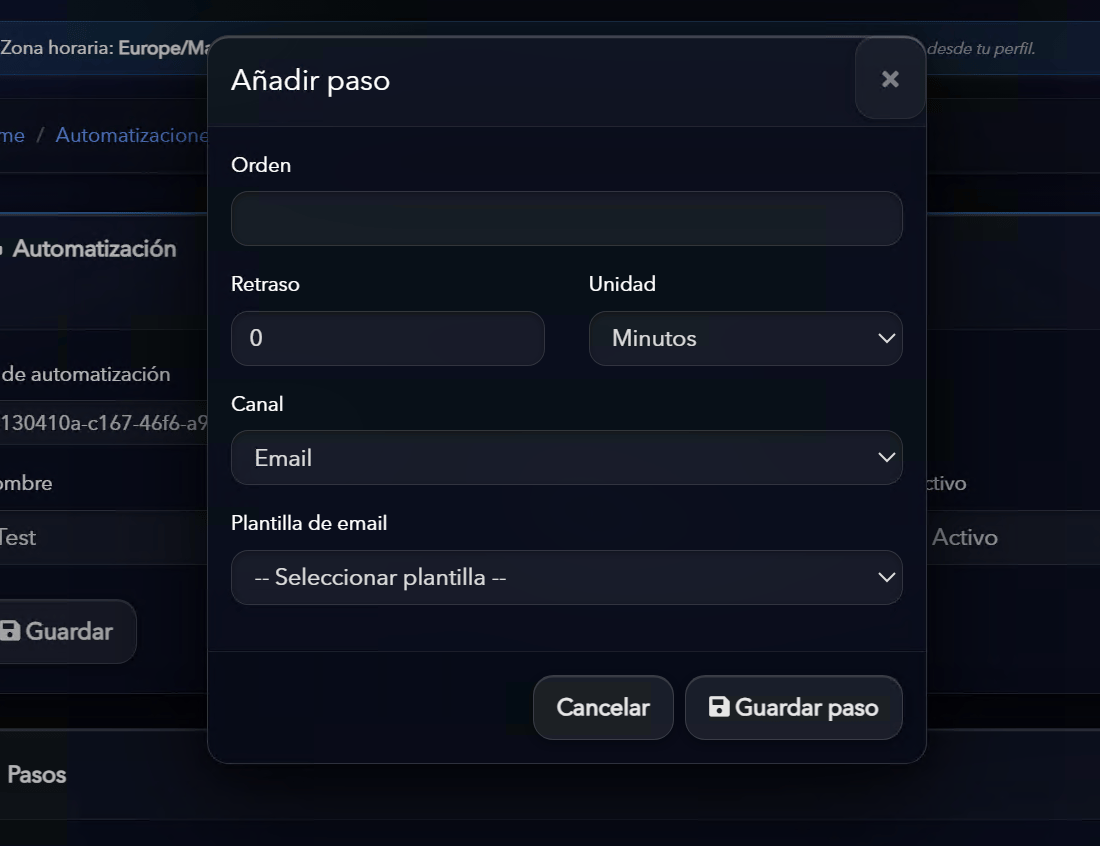
Add Steps
Steps are the actions Hurry runs once the automation is triggered. You can add as many Steps as you need and combine them to build complete communication flows with your customers. There are currently two types of Steps:- Email: sends a previously created email template.
- SMS: sends an SMS template to the customer’s phone number.
Example 1: Order confirmation
A simple order confirmation automation could be set up like this: Trigger:Order Paid
Flow:
Example 2: Abandoned cart recovery
A typical sequence to recover abandoned carts could be: Trigger:Cart Abandoned
Flow:
Edit or delete a Step
From the Steps list you can edit or delete any step in the automation. Use the edit icon to change the Step’s settings or the delete icon to remove it from the flow.